研究所學生,主修資訊工程,熱衷於深度學習與機器學習。初期先以基本的程式教學為主,希望我的文章能夠幫助到你!(https://linktr.ee/johnnyhwu)
LINE Bot Tutorial: Building Your First Echo Bot

Foreword & Overview
LINE has more than 20 million users across Taiwan, and businesses and enterprises have strengthened their online sales channels through LINE Bot. This article will take beginners to build the first LINE chatbot - Echo Bot, Echo Bot will echo what Echo users say! The seemingly simple LINE Bot contains many implementation details.
We'll implement it in Python, with Django as the backend, and deploy the app on Heroku, allowing anyone to interact with the LINE Bot. So, before starting this article, don't forget to:
- Set up a Django environment and successfully deploy to Heroku
- Become a LINE Developer and create a Messaging API Channel
Step 1 : Install the line-bot-sdk package
After completing the above two steps, it is equivalent to completing the pre-Coding operation. First, we need to install the necessary packages for developing LINE Bot in the virtual environment.
pip install line-bot-sdk
Step 2 : Obtain LINE Channel Secret and Access Token
Next, in order for the LINE Bot API to work properly, we need to obtain the Secret and Access Token of the previously created Channel. After entering the LINE Developer page and logging in to the Console, we can see the Channel we have added. Click Channel to enter the setting page, slide to the bottom of the page, we can see the information of Channel Secret . Please copy the Channel Secret.
Next, go back to the Django project and open settings.py. Around line 25, you can see the SECRET_KEY variable. Please add a variable below to store the LINE Channel Secret .
 # SECURITY WARNING: keep the secret key used in production secret!
SECRET_KEY = 'YOUR_KEY'
LINE_CHANNEL_SECRET = 'YOUR_KEY' # Add this line
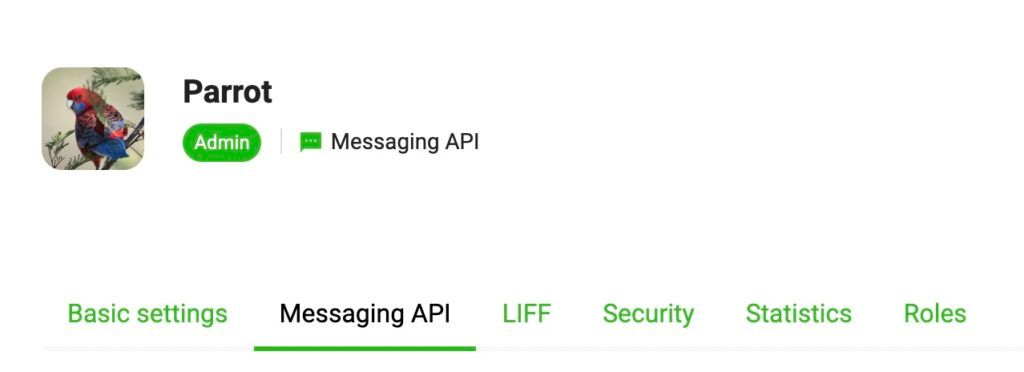
Next, go to the Messaging API tab.

Scroll to the bottom of the page and find the Channel access token . If there is no issue, you need to issue it first. And copy the generated Channel access token . Go back to settings.py and add another variable to store the Channel access token.
 # SECURITY WARNING: keep the secret key used in production secret!
SECRET_KEY = 'YOUR_KEY'
LINE_CHANNEL_SECRET = 'YOUR_KEY'
LINE_CHANNEL_ACCESS_TOKEN = 'YOUR_KEY' # Add this line
Step 3 : Specify Webhook URL
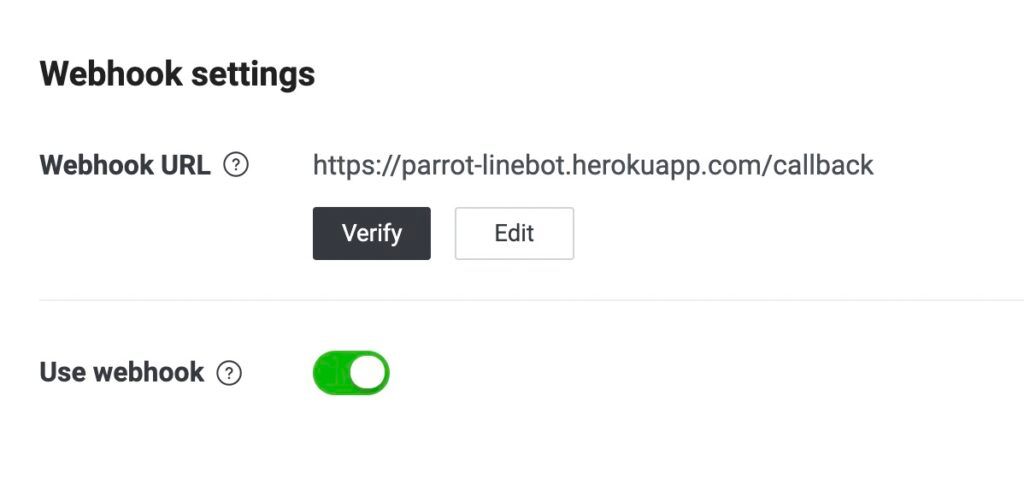
Also under the Messaging API tab, we can see the field to set the Webhook URL:

When we deploy our Django App to Heroku , we get a URL to access our Django App. We append "callback" to this URL as the Webhook URL. When LINE Bot receives the message, it will "POST" Data to this URL. Therefore, we need to map this URL to a Function to handle the LINE Bot POST data.
Step 4 : Specify the Function corresponding to the "callback" URL
Next, open urls.py and import the following packages, remember to replace "myapp" with the name of the app you created.
 from django.contrib import admin
from django.urls import path
from django.conf.urls import url # Add this line
from myapp import views # Add this line
Next, specify the "callback" URL in the urlpatterns list that corresponds to the "callback" Function in views.py.
 urlpatterns = [
path('admin/', admin.site.urls),
url(r'^callback', views.callback) # Add this line
]
Step 5 : Add "callback" Function
Finally, we need to add a "callback" Function in views.py to process the Data POSTed by LINE Bot. First, load the following packages in views.py:
 from django.conf import settings from django.http import HttpResponse, HttpResponseBadRequest, HttpResponseForbidden
from django.views.decorators.csrf import csrf_exempt

from linebot import LineBotApi, WebhookParser
from linebot.exceptions import InvalidSignatureError, LineBotApiError
from linebot.models import MessageEvent, TextSendMessage
Next, use the LINE_CHANNEL_SECRET and LINE_CHANNEL_ACCESS_TOKEN we defined in settings.py to create LineBotApi and WebhookParsr Object.
 line_bot_api = LineBotApi(settings.LINE_CHANNEL_ACCESS_TOKEN)
parser = WebhookParser(settings.LINE_CHANNEL_SECRET)
Finally, add the "callback" Function:
 @csrf_exempt
def callback(request):
if request.method == 'POST':
signature = request.META['HTTP_X_LINE_SIGNATURE']
body = request.body.decode('utf-8')

try:
events = parser.parse(body, signature)
except InvalidSignatureError:
return HttpResponseForbidden()
except LineBotApiError:
return HttpResponseBadRequest()

for event in events:
if isinstance(event, MessageEvent):
line_bot_api.reply_message(event.reply_token, TextSendMessage(text=event.message.text))

return HttpResponse()

else:
return HttpResponseBadRequest()
In the above code, the data POSTed by LINE Bot is mainly obtained first, and the "events" contained in it are parsed through the parser. If the event is a MessageEvent , that is, the user sends a message to the LINE Bot, the LINE Bot returns a piece of text. Content is the message sent by the user.
Step 6 : Redeploy Django to Heroku
As a final step, we need to deploy all our modifications to Heroku! Because we have additionally installed the line-bot-sdk package, the requirements.txt must be regenerated.
pip freeze > requirements.txt
Then push the entire project to Heroku!
git push heroku master
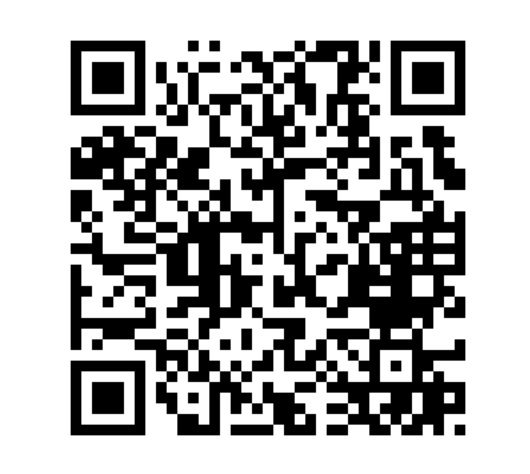
Finally, add LINE Bot as a friend through the QR Code of this LINE Bot and send him a message. If he replies with the exact same message, it means success! Here's a sample Echo Bot I've built:

Epilogue
In this article, we learn how to build the first LINE Bot, the Echo Bot, to repeat the messages sent by the user. Echo Bot has simple functions and is the first way to learn LINE Bot!
If you like my articles, please visit my website or follow me on Instagram!!!
Like my work?
Don't forget to support or like, so I know you are with me..
Comment…