理科文藝女子的文字備份 什麼都寫 喜愛攝影//日常思考 隨手拍ig:21.com1
Remake a good helper Snapseed curve function tips
Let's demonstrate with a photo that is taken casually, with the shadow still pressing down on the subject.
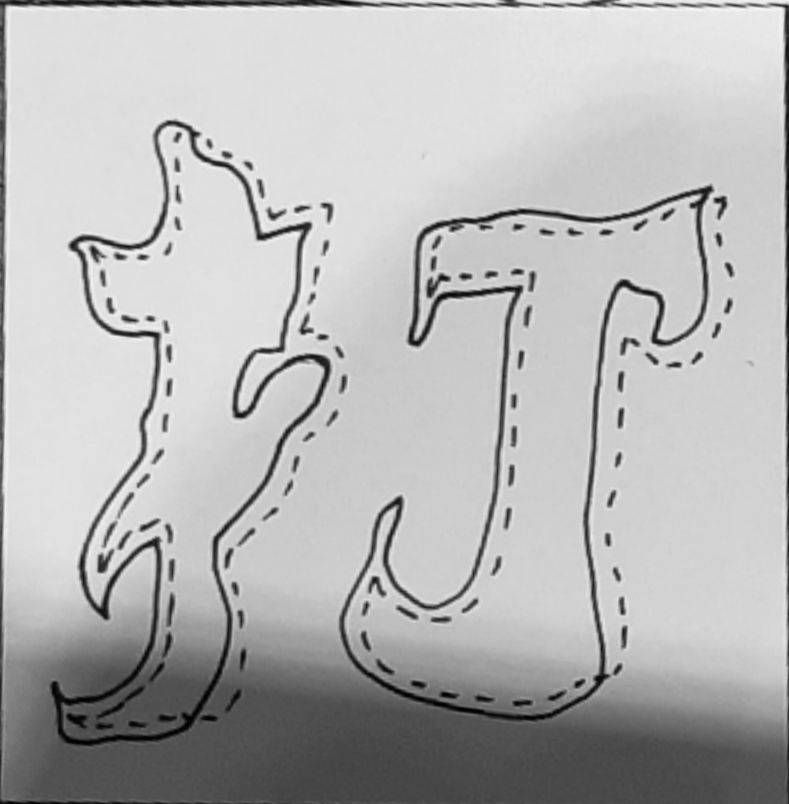
This time, I will use two functions, <Image Fine Tuning> and <Curve>.

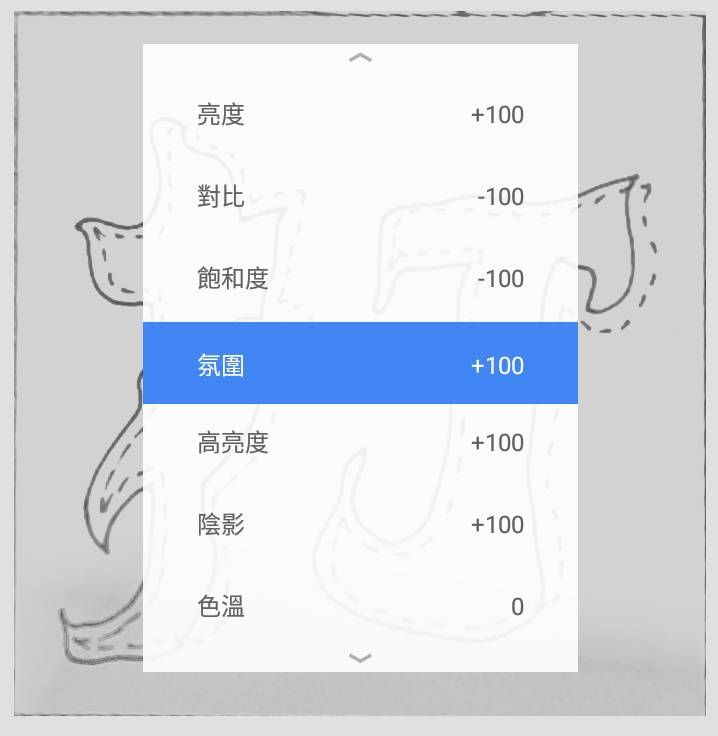
Step 1: Use image fine-tuning to make the shadow less obvious, ignore the brightness first, and the subject can still see clearly.
The main purpose is to make the entire contrast smaller, which is convenient for pulling the curve later. I am lazy and directly fill the parameters here. You can adjust it according to the situation.
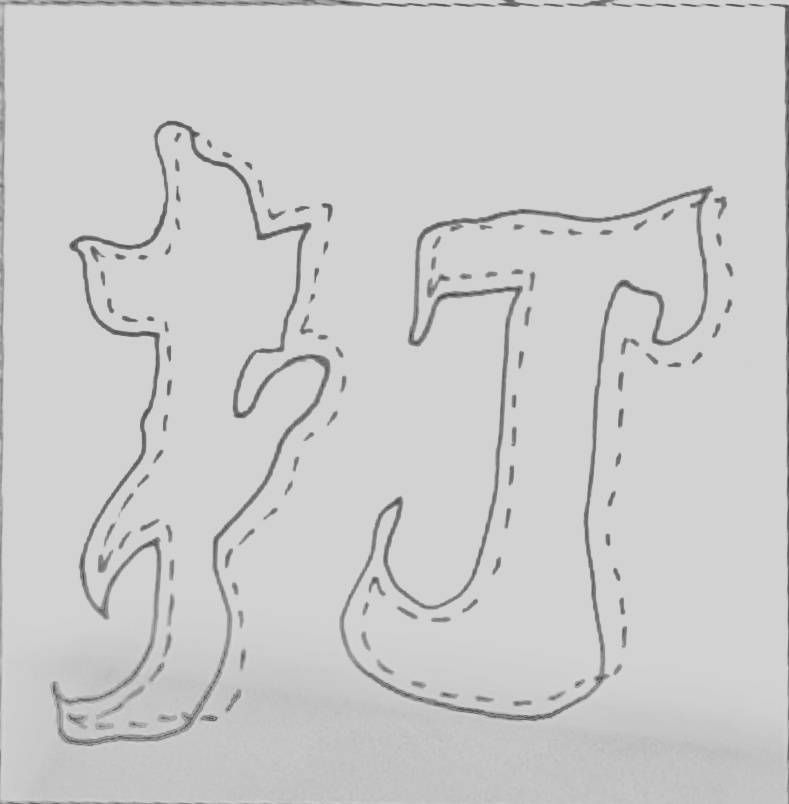
Well, it will probably be like this
Step 2: The first curve is bright and dark, and the line is vertical, which means that there is only black and white, and the left and right determine the boundary between white and black. (Look at it by yourself, it's very interesting)
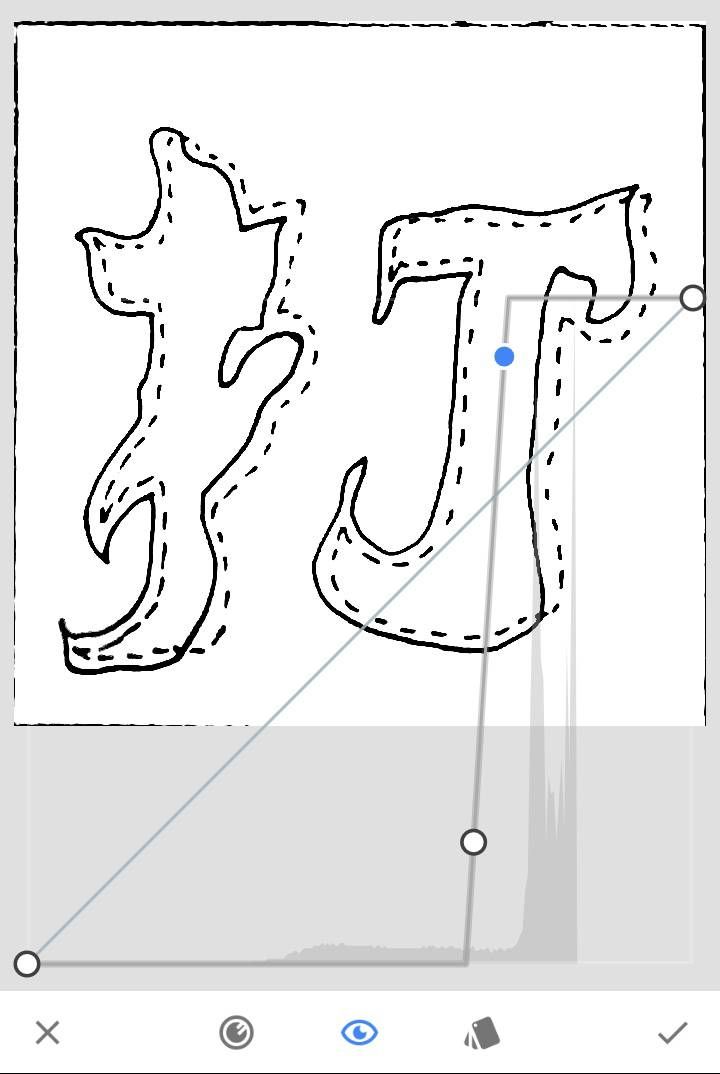
Hurry up and save your random graffiti clearly!
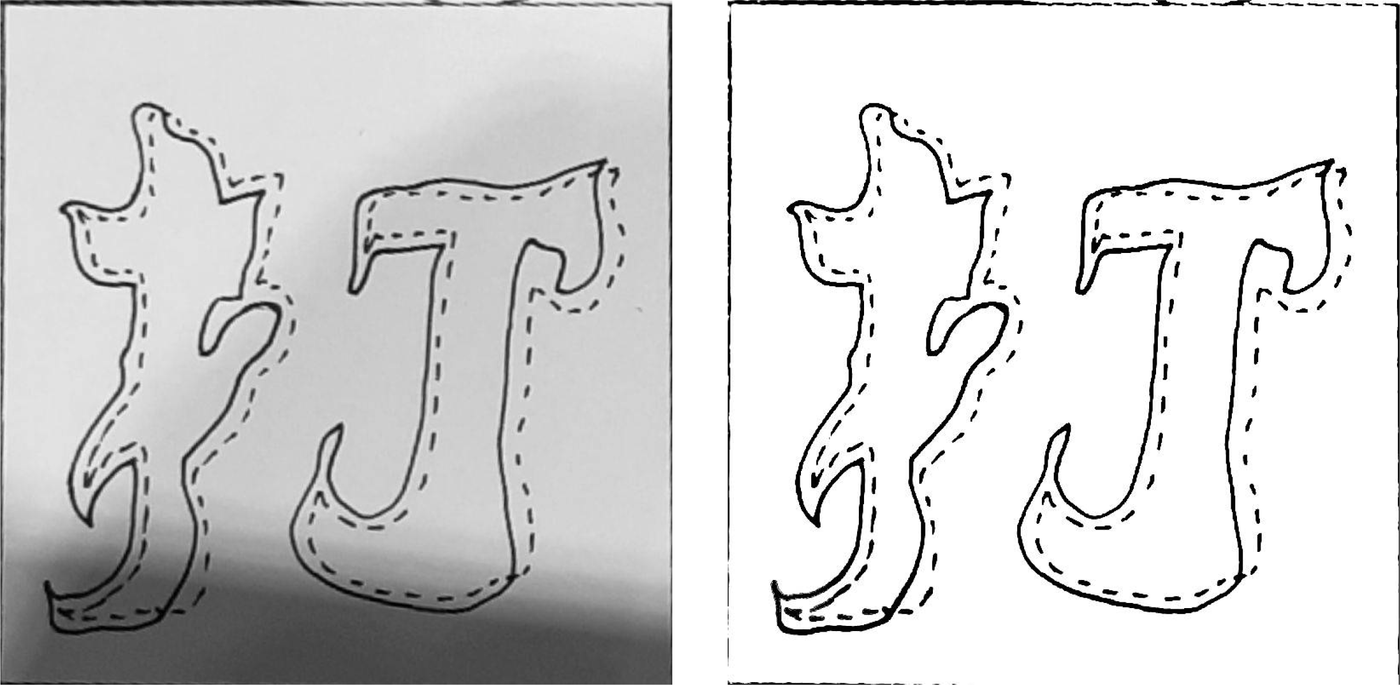
See more interesting fonts on IG: asobi_type. See more of my random shots on IG: 21.com1.
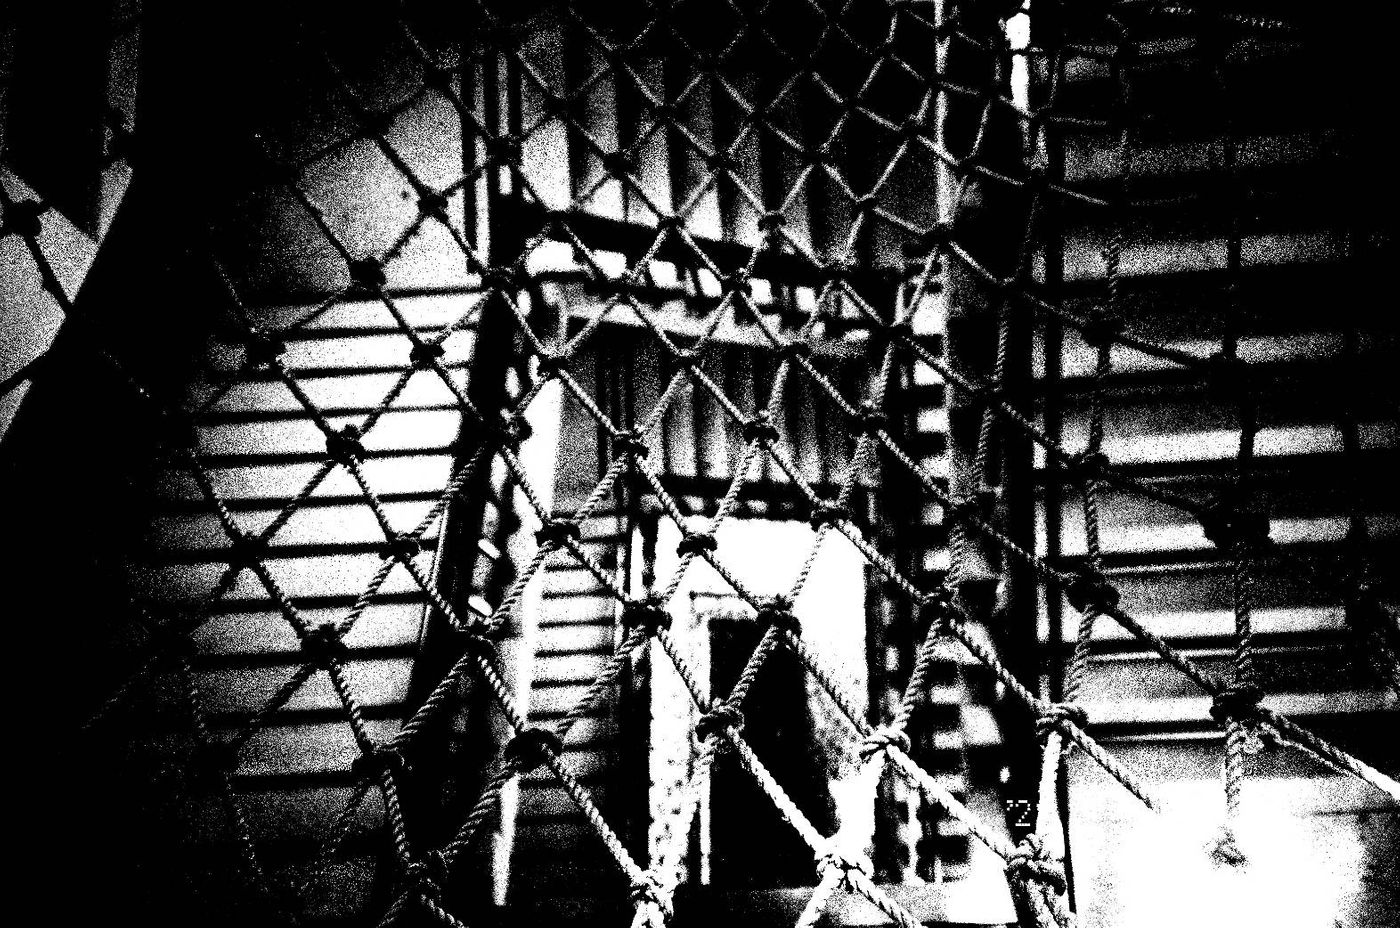
Gayoung: Using this method to make the black and white punk feel.
Like my work?
Don't forget to support or like, so I know you are with me..
Comment…