Spring Boot + Vue CLI 前後端分離入門(配置&步驟)
(1) 安裝配置 Vue CLI
首先我們要使用 npm 安裝 Vue CLI,必須要先安裝Node.js
安裝 Node.js,官網下載即可 https://nodejs.org/en/
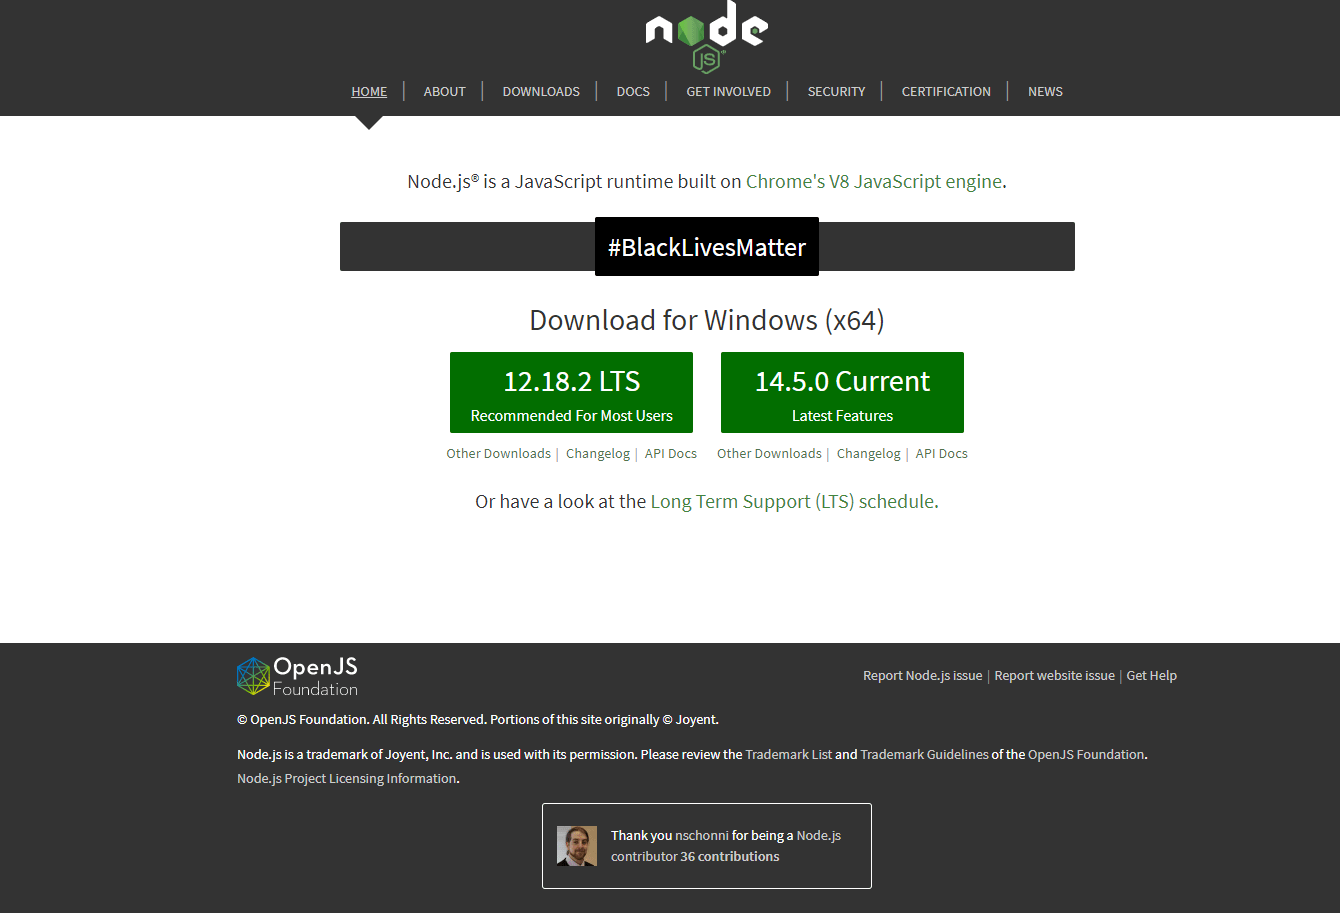
左邊是推薦版,右邊是最新版,兩個其實都可以
我是下載左邊的版本,下載好後,跟著步驟一路安裝到底即可
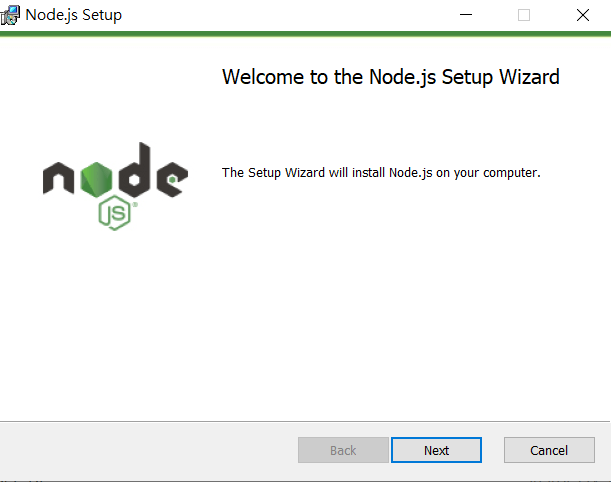
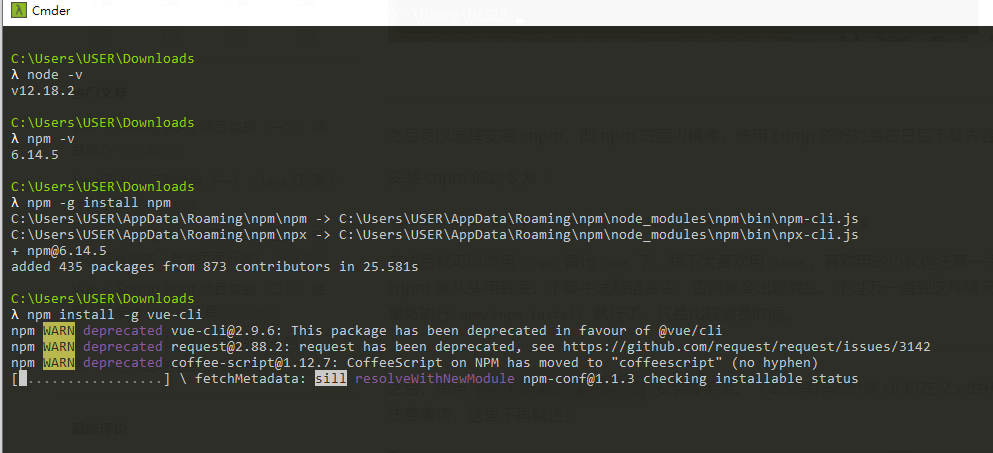
安裝完之後, 在 cmd 輸入 node -v , 確認是否安裝成功
這同時, npm 也安裝完成, 可以輸入 npm -v 查看版本
接著輸入 npm -g install npm 將 npm 更新到最新版
更新完後輸入 npm install -g vue-cli 安裝 Vue CLI
接著可以開始建立前端項目
到一個目錄, 新增一個資料夾 C:\testWorkspace
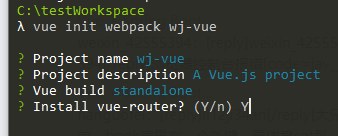
輸入指令 vue init webpack wj-vue
這邊是以 webpack 當作模板
wj-vue 是Project Name , 可以換成自己喜歡的
會問你是不是要安裝 vue-router , 要選 Y

安裝完之後, 到目錄內執行
需要在该文件夹 C:\testWorkspace\wj-vue
執行 npm install
然後執行 npm run dev

接著就到 http://localhost:8080 如果有看到下面網頁, 代表 Vue CLI 建置成功!!

(2) 安裝配置 Spring Boot
先到Eclipse Marketplace , 安裝 Tool
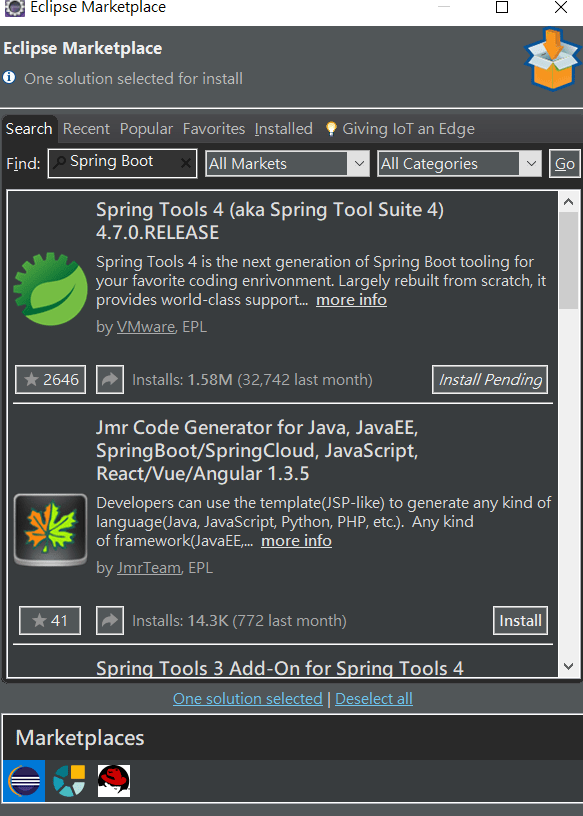
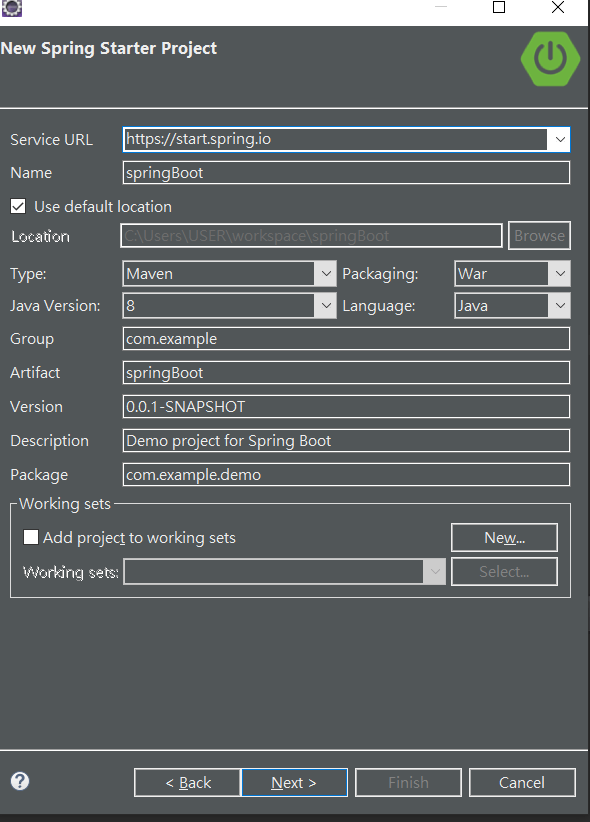
安裝完之後, 工作區右鍵, 選擇 Spring Starter Project
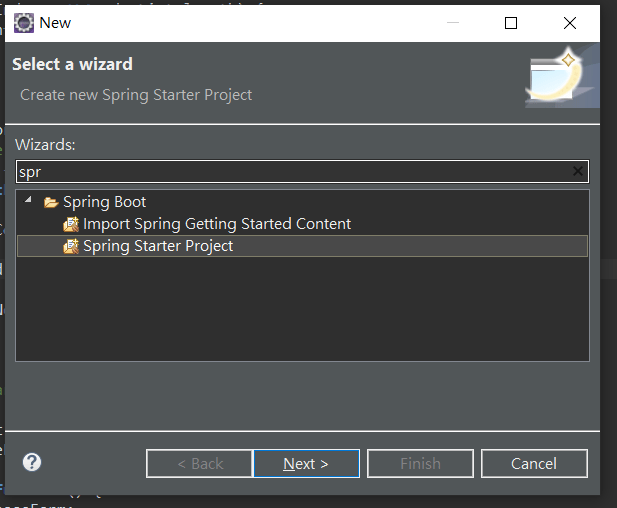
可以改名稱跟一些設定, Packaging 可以選 jar war 之類
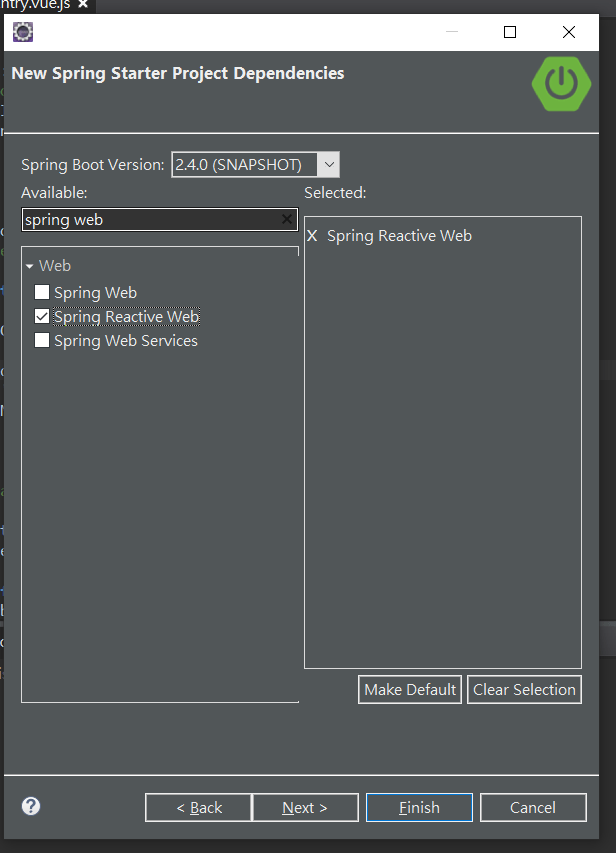
這裡我有參考網路的, 所以我也是選 Spring Reactive Web
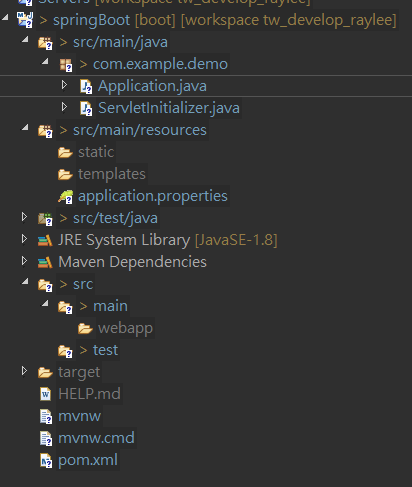
建好後, 專案目錄大概會長這樣
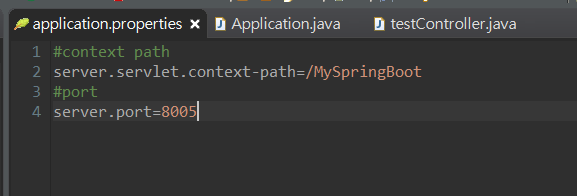
接著我們到 Application.java配置設定
#context path
server.servlet.context-path=/MySpringBoot
#port
server.port=8005
接著新增一隻 controller
@Controller
public class testController {

	private dataBean studentRecords;

	@RequestMapping(method = RequestMethod.GET, value="/test")
	  @ResponseBody
	  public String test() {
		return "TEST";
	  }
	@RequestMapping(method = RequestMethod.GET, value="/student/allstudent")
	  @ResponseBody
	  public dataBean getAllStudents() {
		studentRecords = new dataBean();
		studentRecords.setName("Ray");
		studentRecords.setAge(30);

	  return studentRecords;
	  }
}
接著專案右鍵, run Spring Boot App
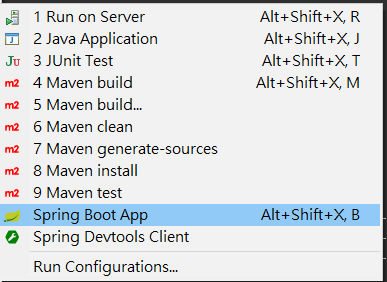
看到下面console 代表成功

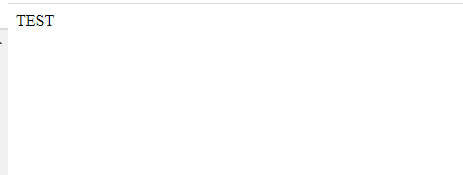
先試試看 是不是可以呼叫到 http://localhost:8005/MyFirstSpringBoot/test
如果看到頁面出現 TEST , 代表成功
最後, 我們回到 Vue CLI, 試著呼叫 /student/allstudent
先找到 config 下面的 index.js
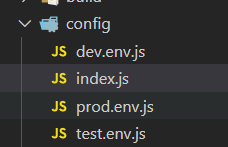
修改 proxyTable 如下,這段的意思是,讓前面固定的 URL 名稱,改為用data
這樣前面程式呼叫的時候, 會乾淨許多
    proxyTable: {
      '/data': {
        target: 'http://localhost:8005/MySpringBoot/',
        changeOrigin: true,
        pathRewrite: {
          '^/data': ''
        }
      }
    },
接著到 App.vue
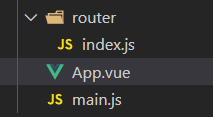
把攏長的URL
http://localhost:8005/MySpringBoot/student/allstudent
簡化為
/data/student/allstudent
修改 created
<script>

import Vue from 'vue'
import axios from 'axios'
import VueAxios from 'vue-axios'

Vue.use(VueAxios, axios)

export default {
  name: 'App',
  created () {
    Vue.axios
      .get('/data/student/allstudent')
      .then((response) => {
        console.log(response.data)
      })
      .catch((error) => {
        console.log(error)
      })
  }
}
修改好之後, 重啟一次 Vue CLI
在重新整理一次
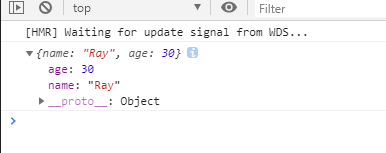
就會看到console 呼叫的資料回來了
