Unprofessional sharing|Metalworking classroom experience
I am staying away from anxiety | My depression notebook mentioned that ways to relieve my depression include painting and tapping in metalworking classes.
So during the birthday month, I went to the metalworking classroom to make a ring for myself as a birthday gift, and also recorded the making process to share with everyone.
※Due to different ring designs, the manufacturing methods and order will be different, so this article shares the style made this time for your reference.
First, make notes (draft)
First record which finger you want to wear, measure the ring circumference, and what words are expected to be engraved on the ring. Recording them all can reduce the failure rate.
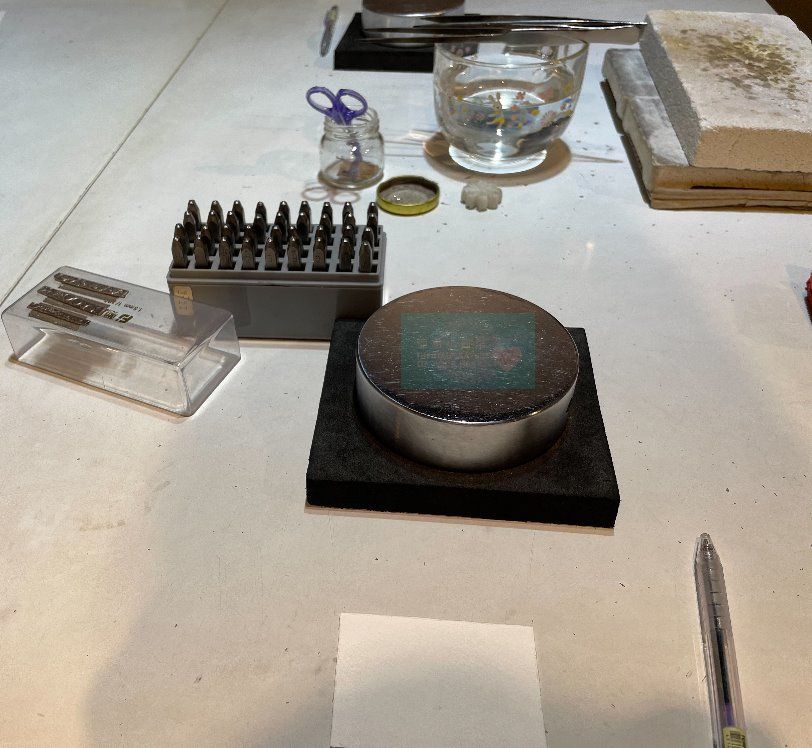
Cut silver bars
Different styles have different thicknesses.
annealing
999 pure silver itself is hard, so it needs to be annealed first to make the silver soft.
A flamethrower is used here. The melting point of silver is 960.5°C, and the temperature of the flamethrower is about 1,300 degrees.
Place the silver bar on top of the refractory bricks. The original metallic luster will gradually turn into foggy white after being burned by fire. Stop burning the red-hot area immediately and do not continue to burn. If you continue to burn, it will melt, so be careful.
Then put it in ordinary tap water to cool down and dry it.
For a little information on annealing , see Wikipedia .

Typing
I typed the words on the silver bars one by one according to the words written in the notes at the beginning. This time I made a ring with a twisted part, so the range that can be typed is relatively small.
Find the center point within the range that can be typed (you can use a pen to make a slight mark, and then anneal, the traces of the pen will disappear), type from the middle word outward to ensure that each word can be typed on the ring .
After hammering, the silver will harden and needs to be annealed and cooled before proceeding to the next step.
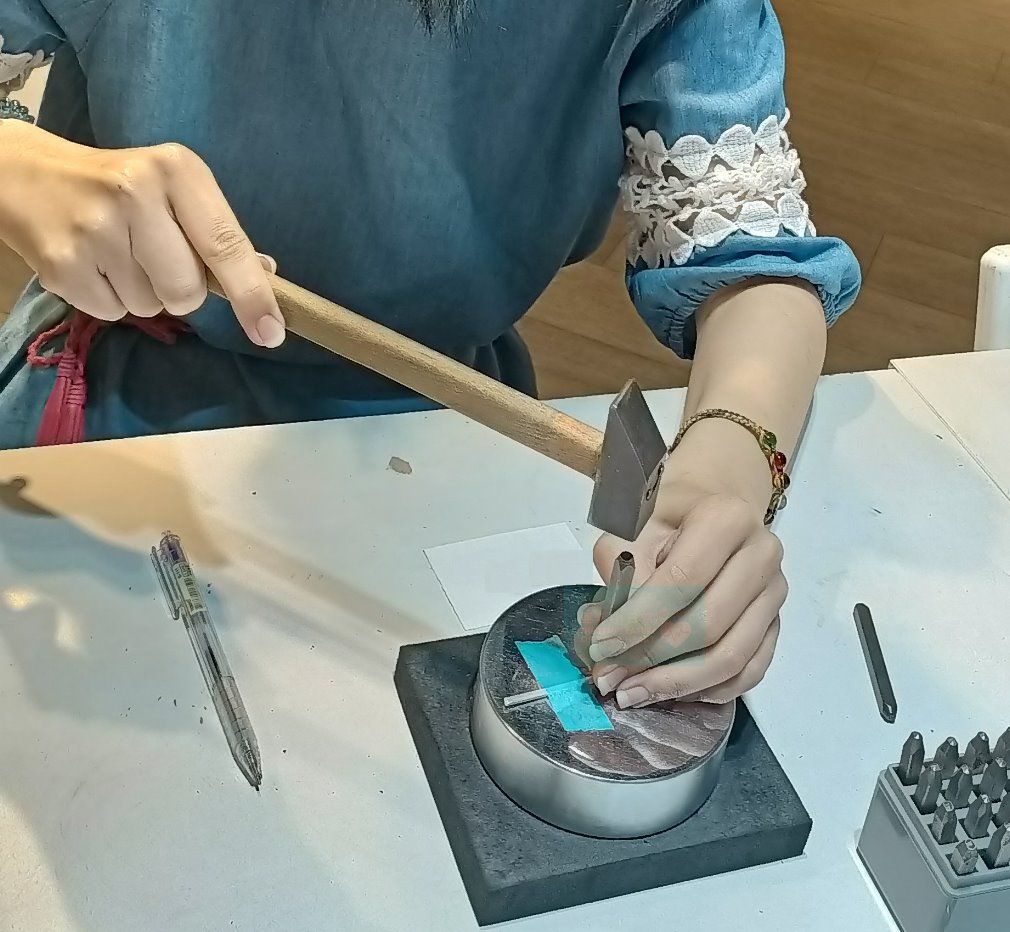
Knock on the texture
This time I chose the diamond pattern, and there are also other different textures such as water ripples, wood grains, etc.
Tap lightly where you want the texture to appear.
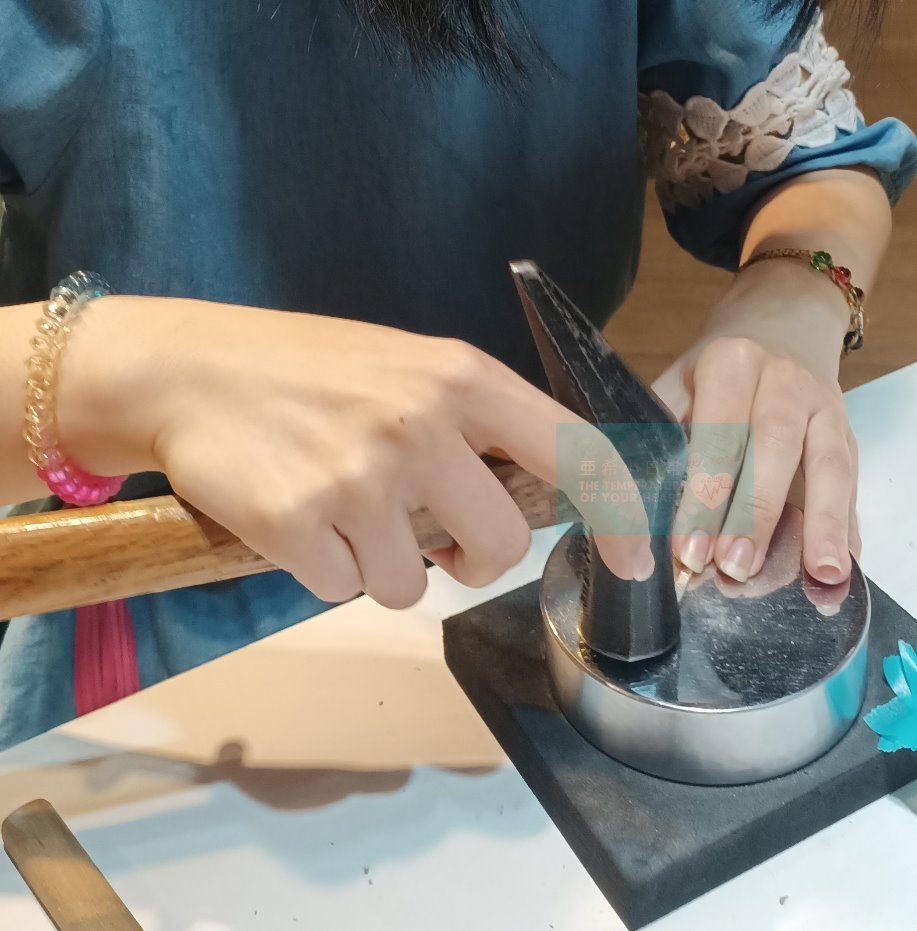
twist
Anneal and cool again.
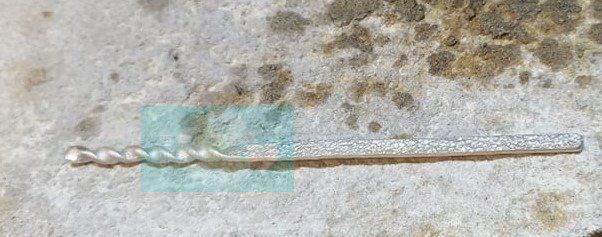
Mark one third of the bar and twist that third.
During the twisting process, it will get harder towards the back and requires greater strength. Therefore, when the twisting does not move, you only need to anneal it to soften the silver and continue twisting.
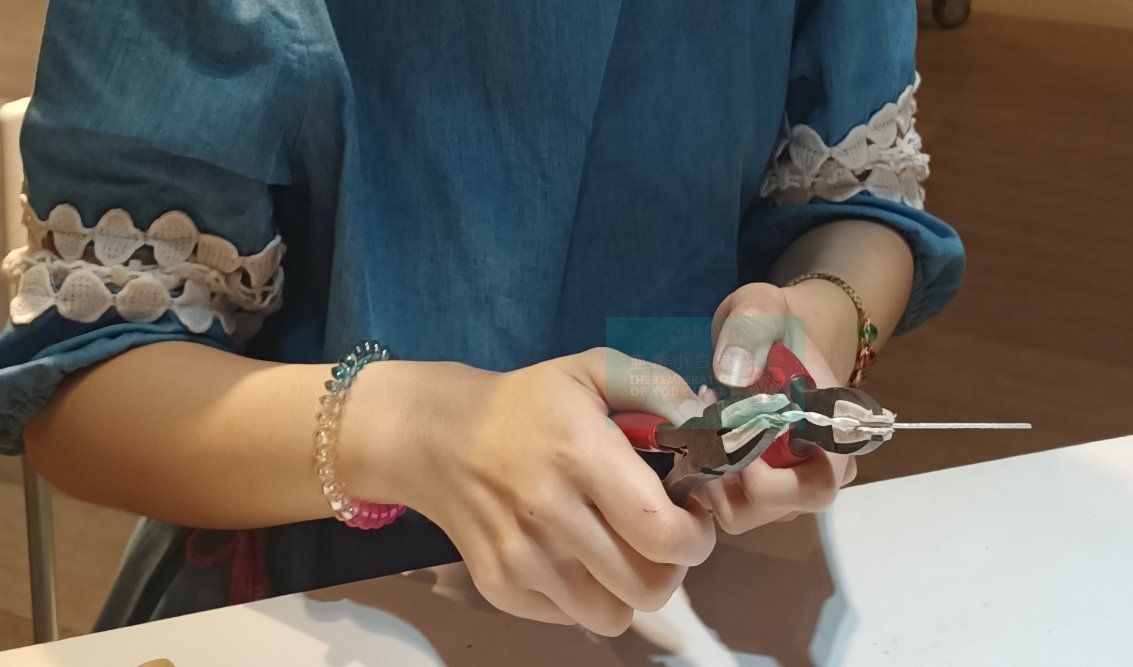
polish
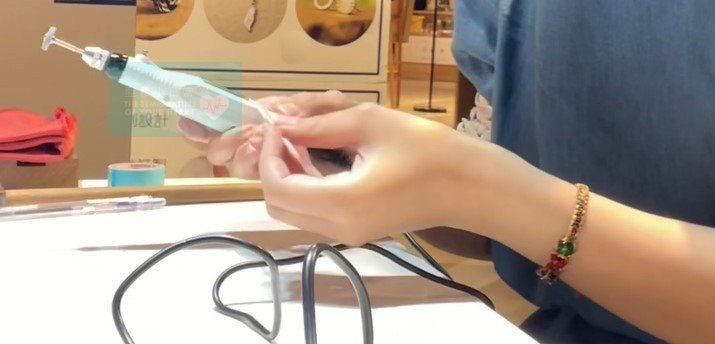
Then polish the cut ends of the silver bar until they are smooth and will not hurt your hands.
There will be metal dust when polishing, so remember not to get it too close to your eyes.
Shape
After polishing, annealing and cooling.
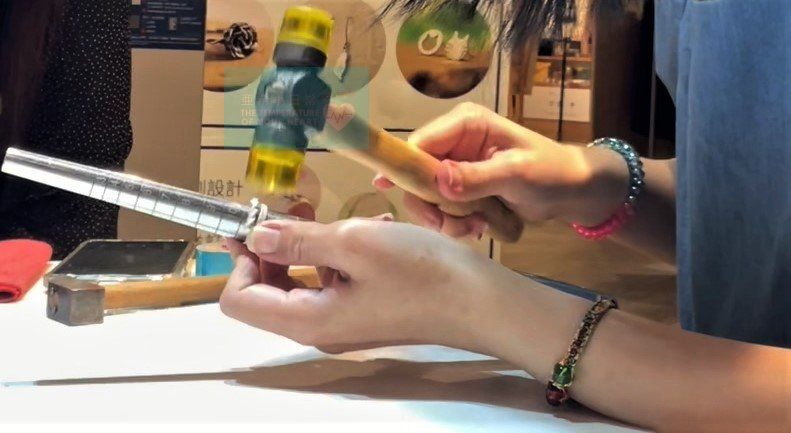
On a cone-shaped pole with the ring circumference engraved on it, bend the silver bar into a circle along that spot according to the size of the ring circumference measured at the beginning.
If there are any areas that are not conformable or round along the way, you can use a rubber mallet to assist and tap them gently.
welding
Then use welding tabs to weld the seams.
The soldering piece is an alloy made of silver and other metals, with a melting point of about 600 degrees.
Use boiled borax as flux, heat the ring first, apply borax on the seams, and use a torch to burn the areas where the borax is applied. The borax will first expand like roasted marshmallows, and then slowly become smaller.
At this time, the soldering piece is heated, and the soldering piece will soon turn into a small ball. Place the soldering piece on the place where the borax was just applied, and it will quickly melt in, and the welding is completed.
Place in water to cool.
Borax removal
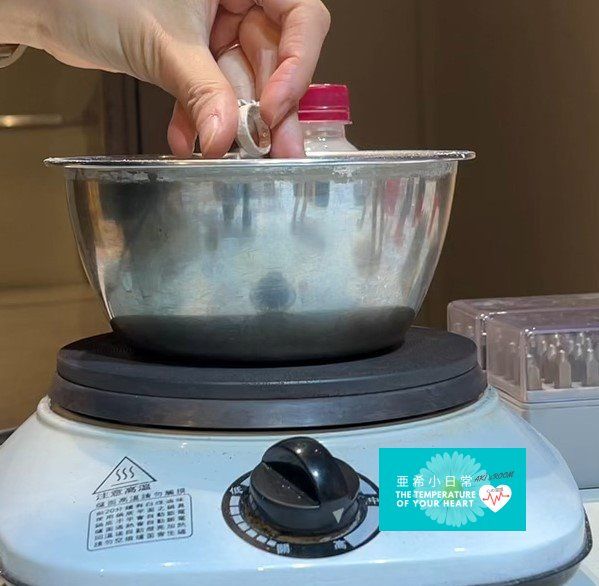
Put alum in a small pot and heat it.
Alum is the nemesis of borax. The area where borax has just been applied will be a little yellow. As long as you add alum and cook for a while, the yellow area will disappear.
polish 1
Just replace the head of the polishing machine with a sewing needle, gently insert coarse sandpaper into the needle hole of the sewing needle, and polish the inner ring and edges of the ring until they are bright. Be careful not to polish the areas with patterns or twists, as they will disappear. not see!
When the coarse sandpaper is almost worn, replace it with fine sandpaper . The method and precautions are the same.
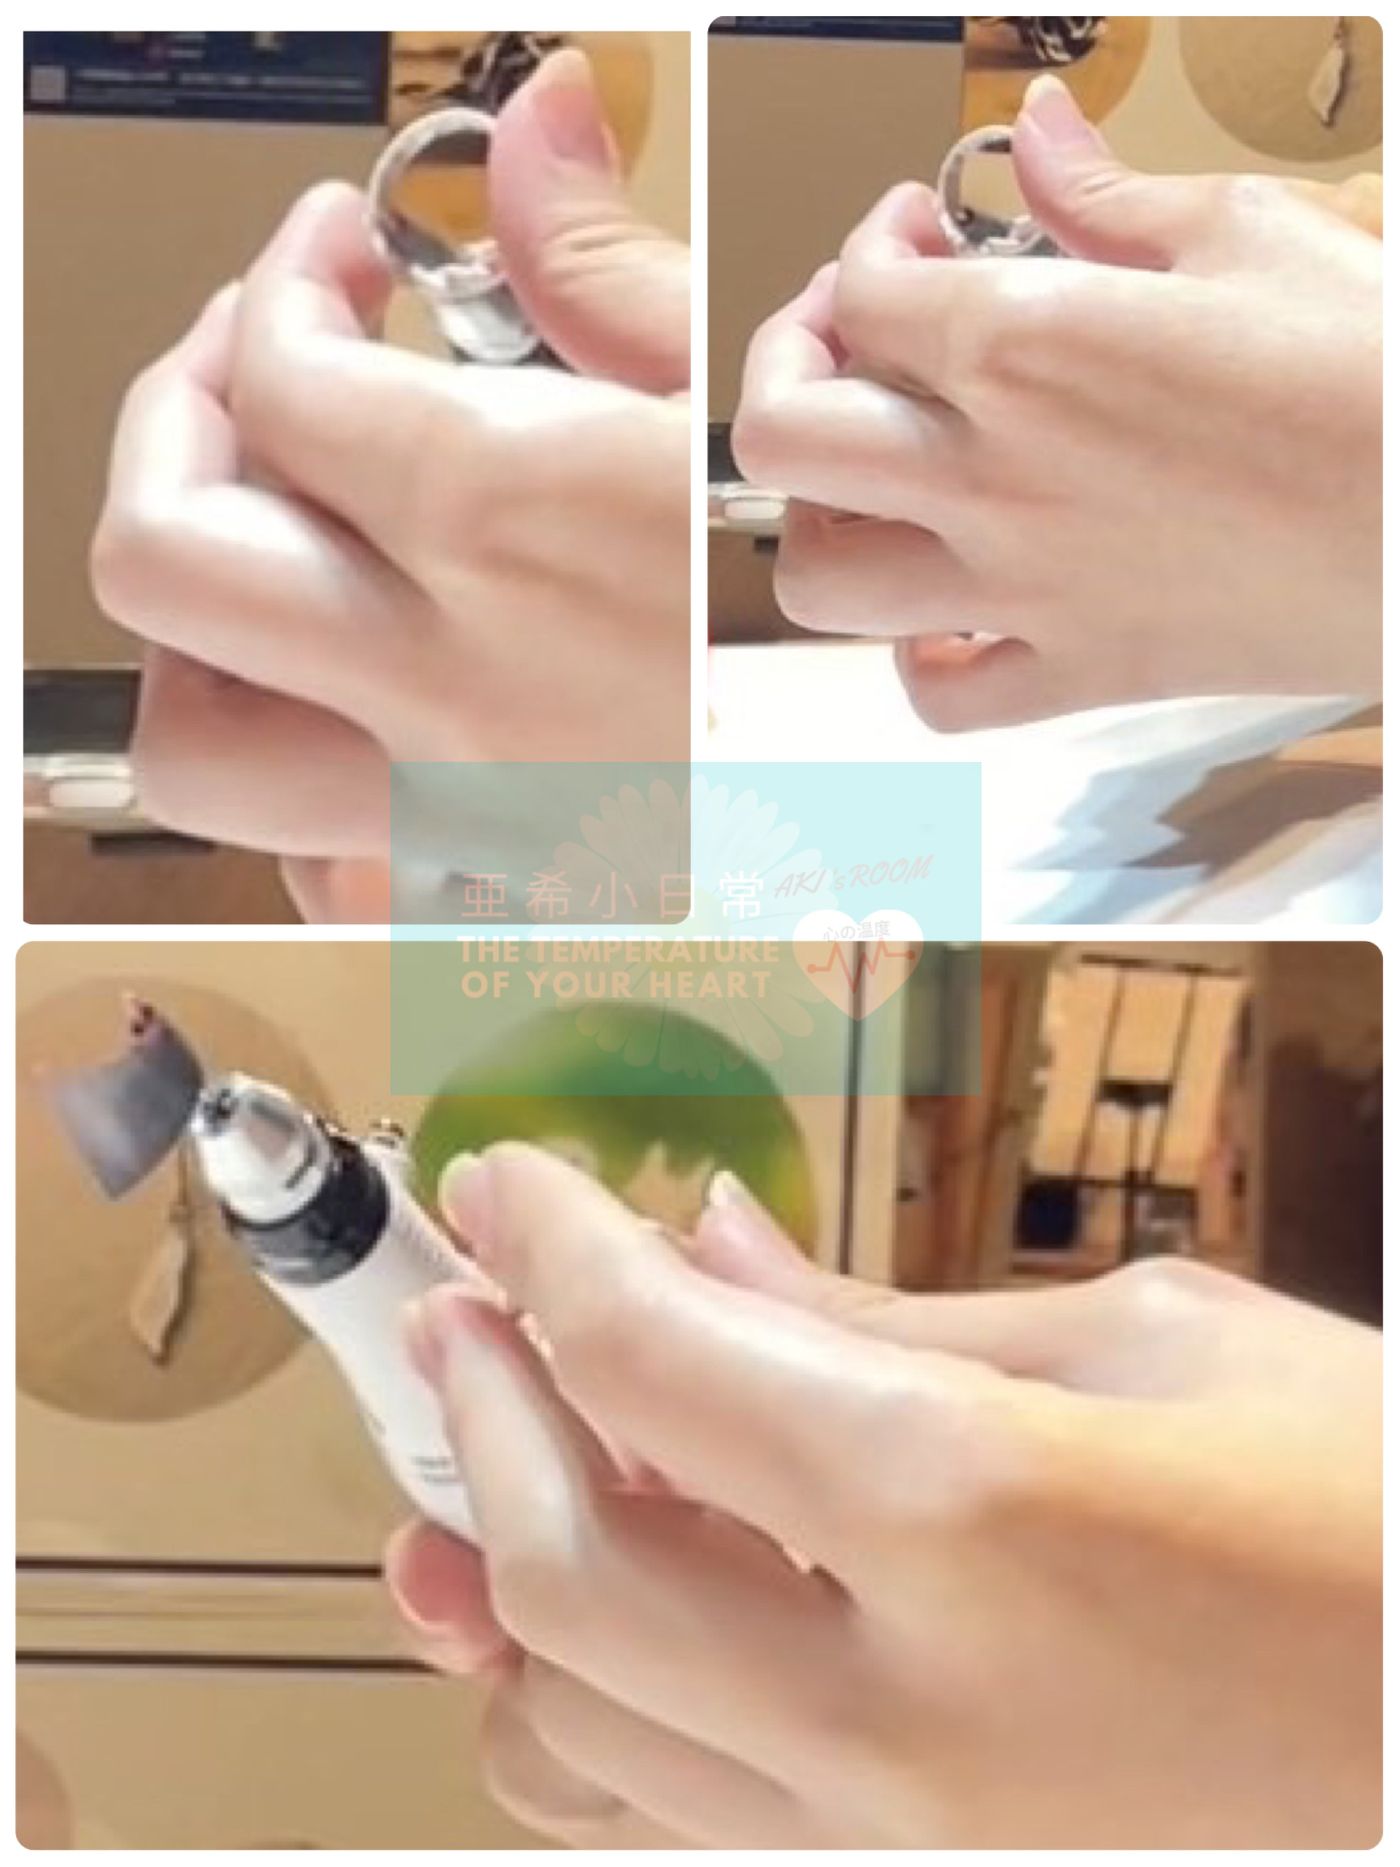
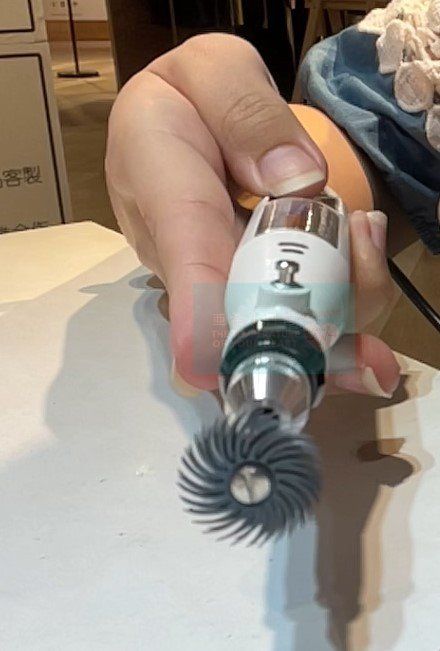
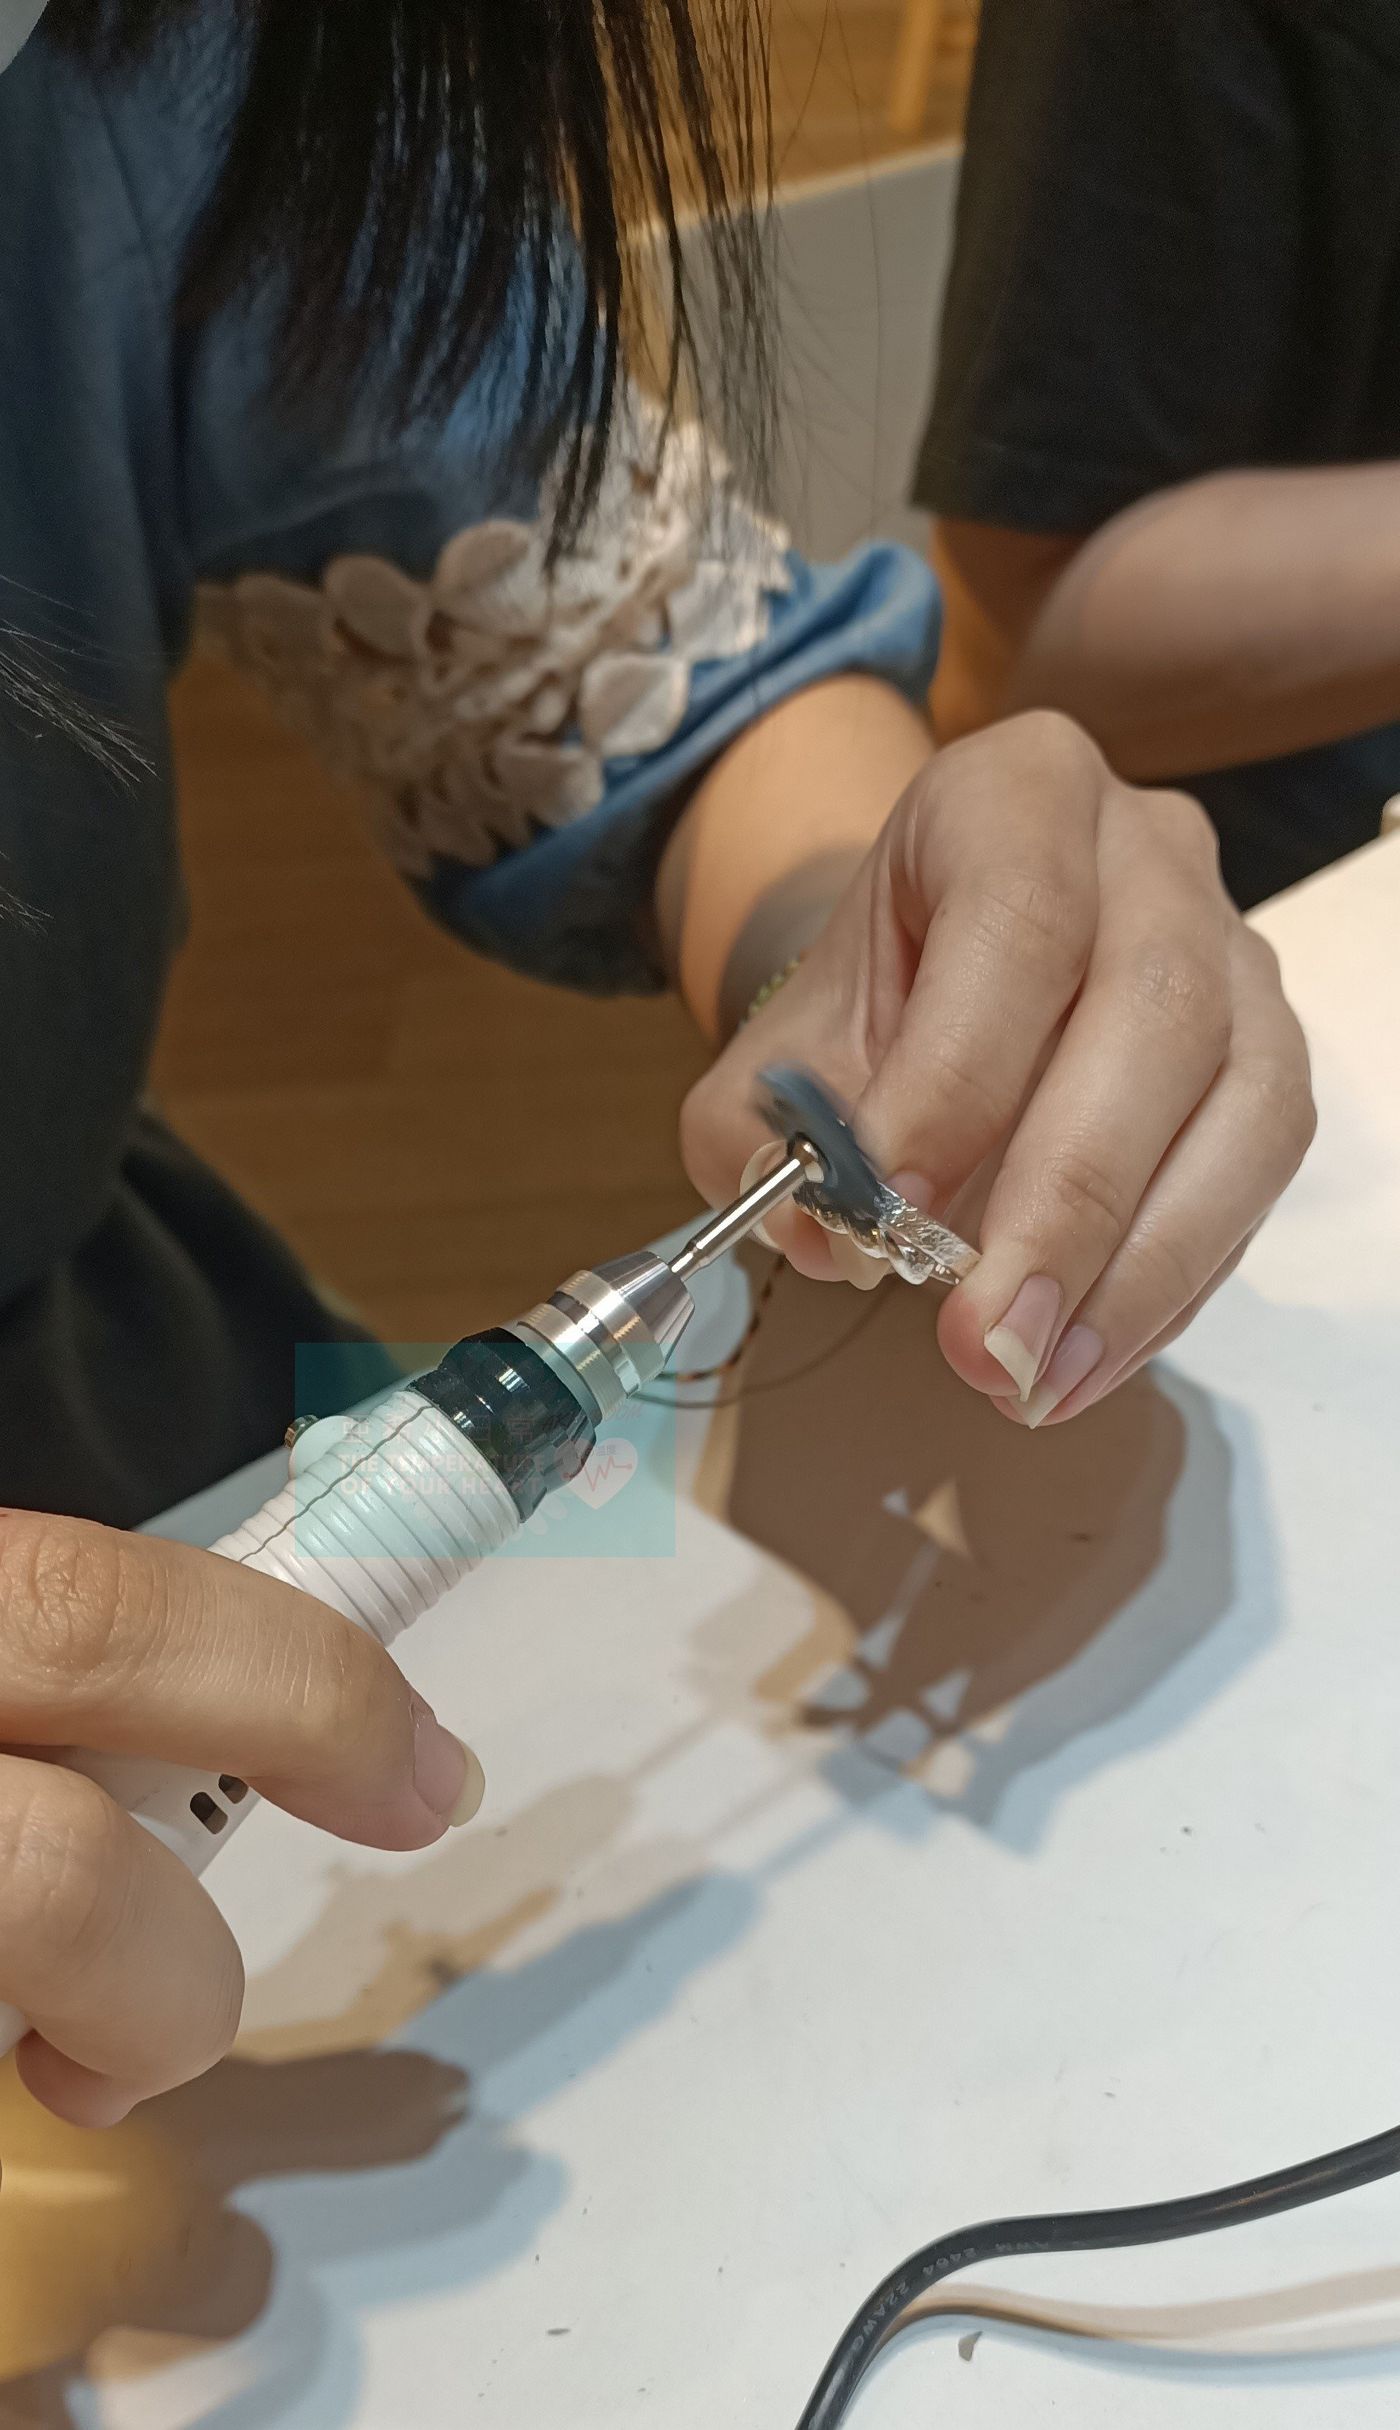
polish 2
Change the head of the grinding machine to a cyclone wheel to polish and brighten the patterned and twisted parts.
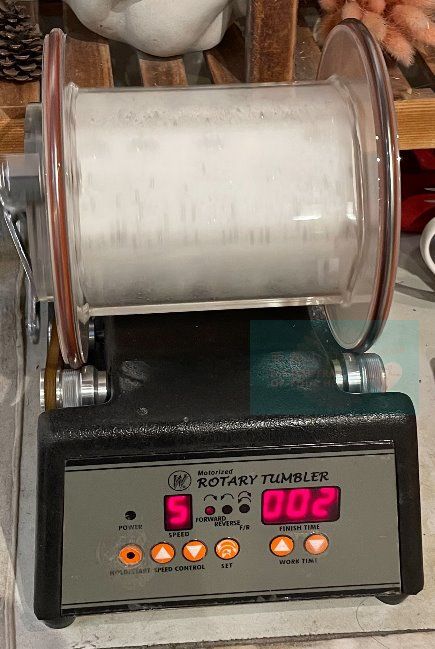
rolling
Then put it in a machine with dishwashing liquid and many small steel balls and roll it for five minutes.
This step can brighten the details that cannot be polished, and also make the ring brighter and more beautiful.
Done!
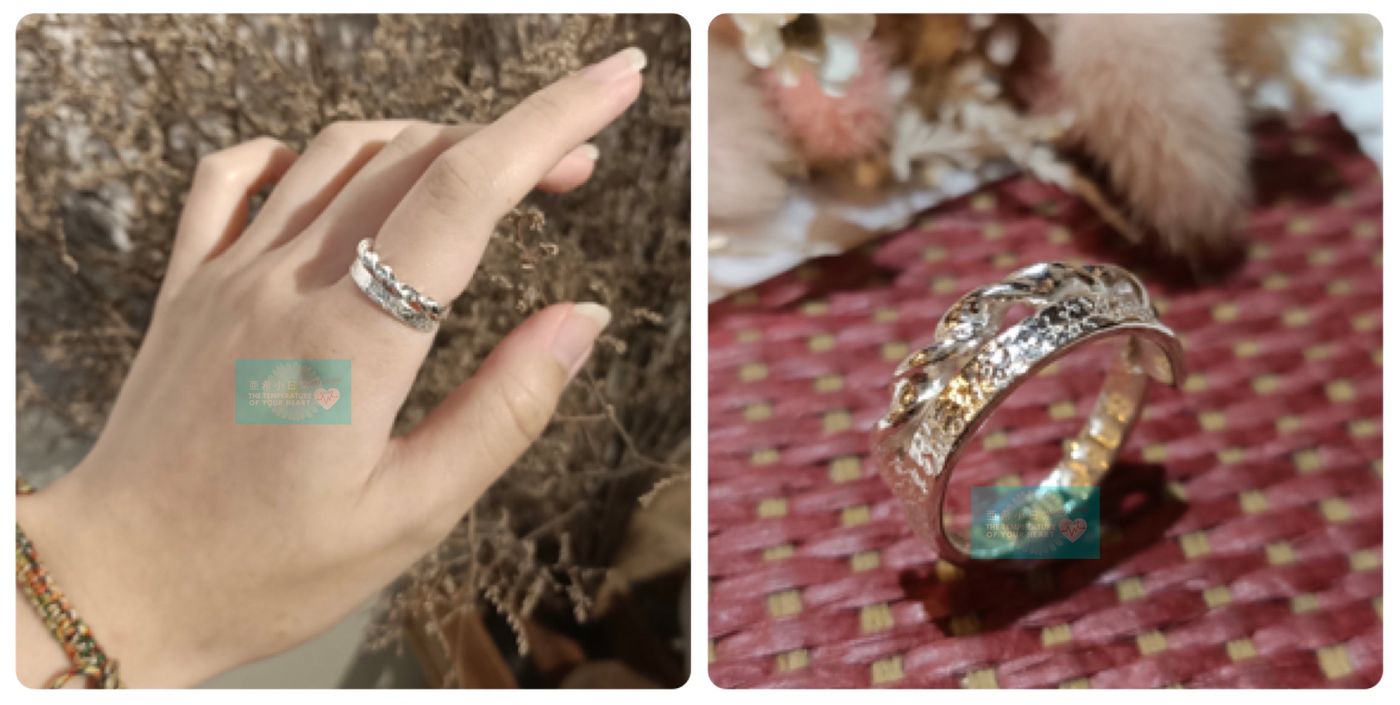
The process of metalworking requires full concentration. You can temporarily forget the annoying things. After the completion of the shiny jewelry, you will feel better when you put it on your hand. I recommend everyone to give it a try!
Like my work? Don't forget to support and clap, let me know that you are with me on the road of creation. Keep this enthusiasm together!


- Author
- More