Generate NFTs with AI and deploy NFT smart contracts and front-end applications
Learn to deploy NFT smart contracts, generate NFTs using AI, and build complete front-end applications
Step 1: Develop a smart contract
Below is the code for our smart contract. You can get it from here NFT.sol
Let’s quickly run our smart contract 🏃
- We used the standard contracts provided to us by openzeppelin ; once you develop smart contracts full-time, you'll realize that Open Zeppelin Contracts is a god send. In order to use their contracts, we need to install them locally in our project.
- Then, we defined our contract NFT , which inherits from openzeppelin's ERC721URIStorage contract*.*
- The next two lines are used to keep track of the total number of tokens minted.
- The constructor then calls openzeppelin's ERC721, which takes two parameters, a name and a symbol*. You are free to choose your own name and symbol.
- Then we have our friend, the mint function. It has two parameters. First, the address to which the NFT must be issued, and second, the tokenURI. We'll explain the tokenURI part in a bit.
Step 2: Start the infrastructure needed to deploy and test our smart contract
Now, according to the "collection" practice, you need to deploy the above contract on a local blockchain node (eg: Hardhat or Truffle) or a public testnet like Goreli testnet. Although this is okay, except for the following pain points:
- About Goreli Testnet:
- It’s not the mainnet 😞, which means it doesn’t have the same token status or most importantly for that matter
- Faucet: Need I explain more? 😤
About local nodes:
- Mainnet fork: check✅
- Faucet: Check✅
- Easily debug my contracts: Unfortunately not easy (yes, I could use some console.logs, but that’s mostly it). 😢
- Shared my trading status with my friend/mentor to get some feedback: Well, it’s
localhostfor a reason! So forget it. 😭
2.1. This is where BuildBear comes in. It combines the best of both worlds for you:
- Mainnet fork: check✅
- Faucet: Check✅
- Debug my transactions: Check✅ [With built-in transaction tracker]
- Share my transaction status with my friends/mentors to get some feedback: Check. This is a private testnet for a team, so, I can invite my friends/mentors to my own testnet and see my transactions
Check it out here: ** Where Localhost Fails and * Winning the Web3 Hackathon with BuildBear Testnet Analytics
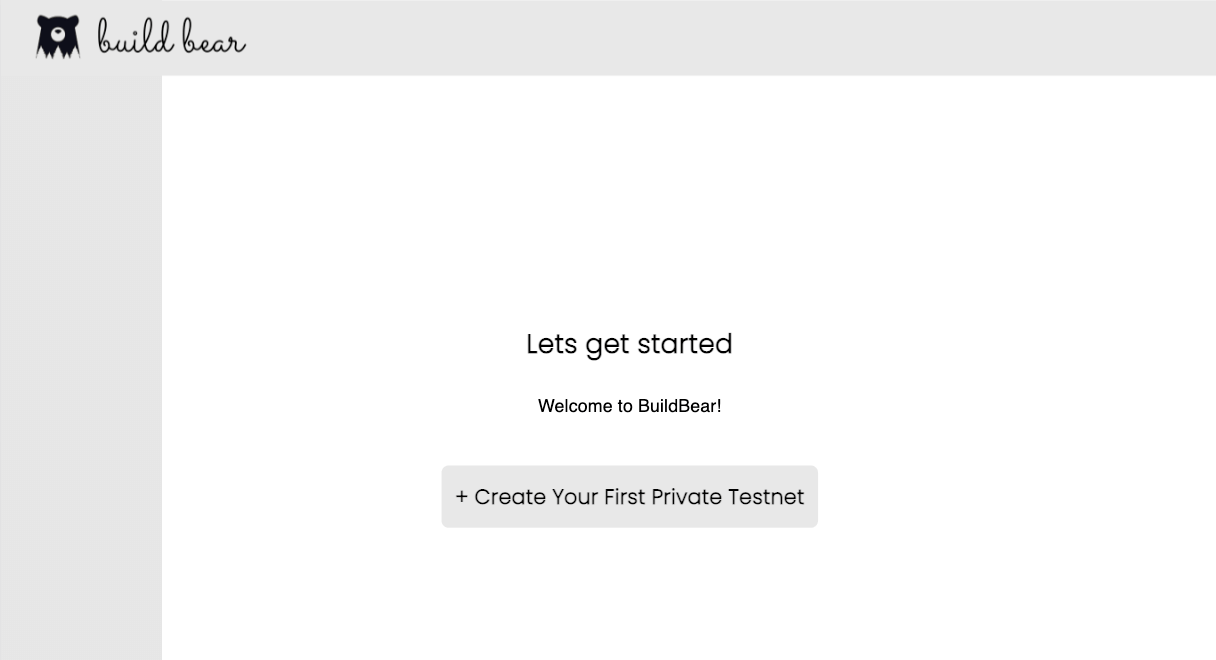
2.2. Access the BuildBear application . After logging in with your Github or Google account, you will see a page similar to the image added below:
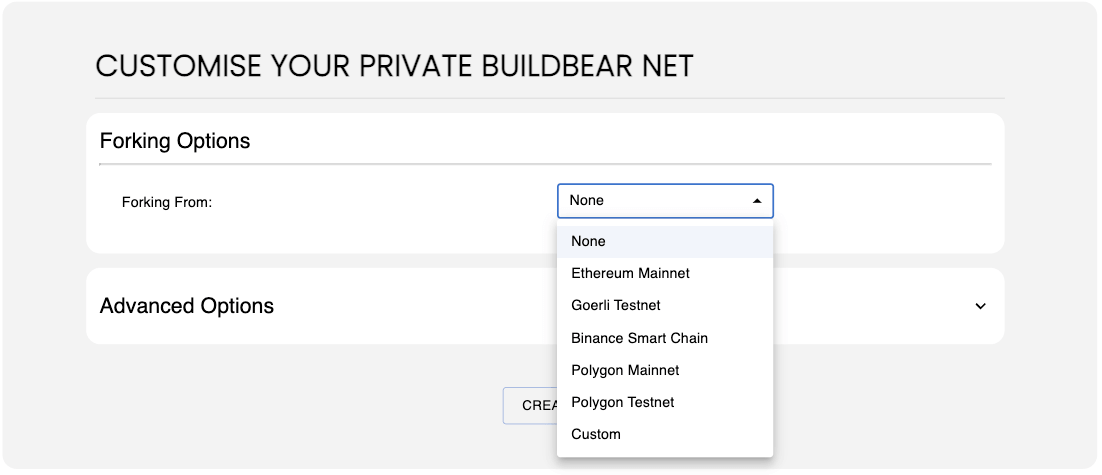
2.3. Create your private node fork from Ethereum mainnet:
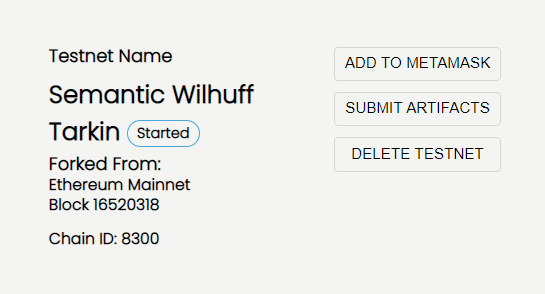
2.4. Add your private testnet to your MetaMask wallet using the “Add to Metamask” button:
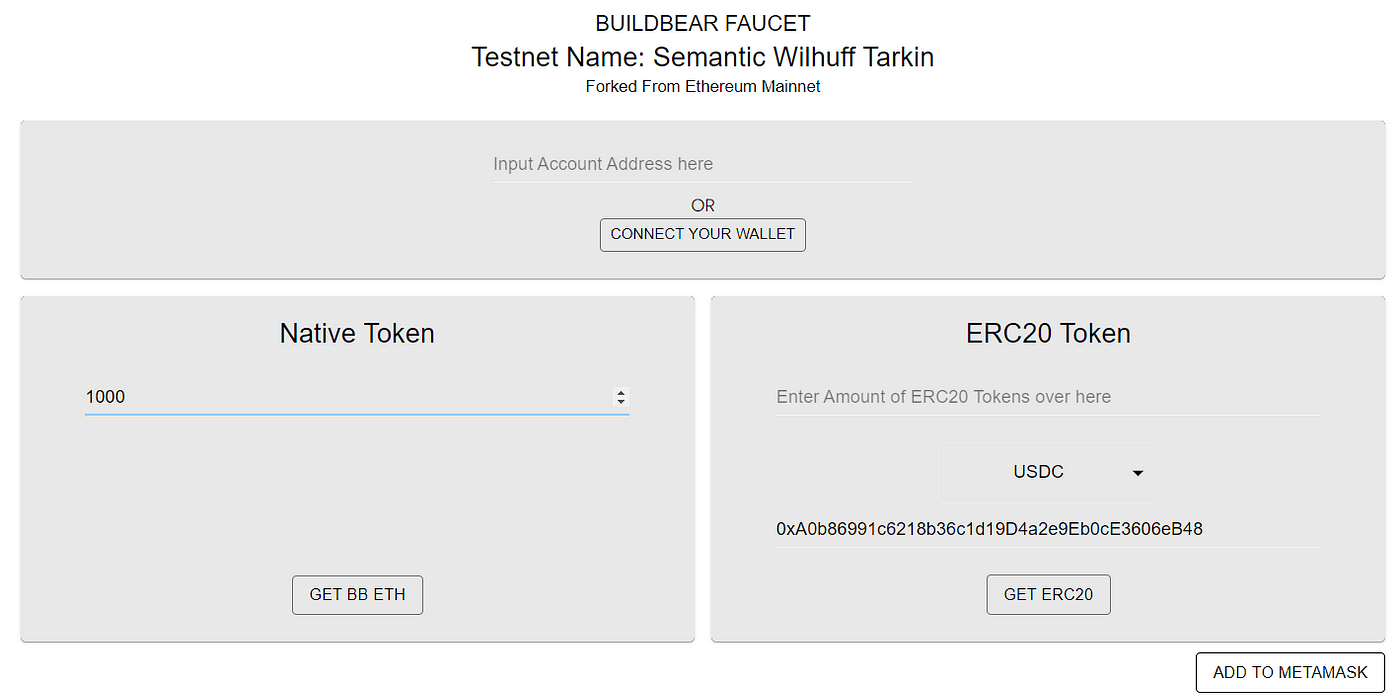
2.5. Mint your Eth tokens from the faucet (using the faucet URL):
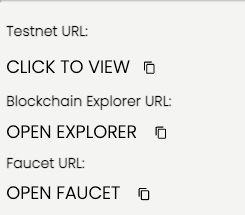
2.5.1. Minting Tokens
Step 3: Deploy the smart contract
3.1. Navigate to the Remix Online IDE website and accept the terms and conditions.
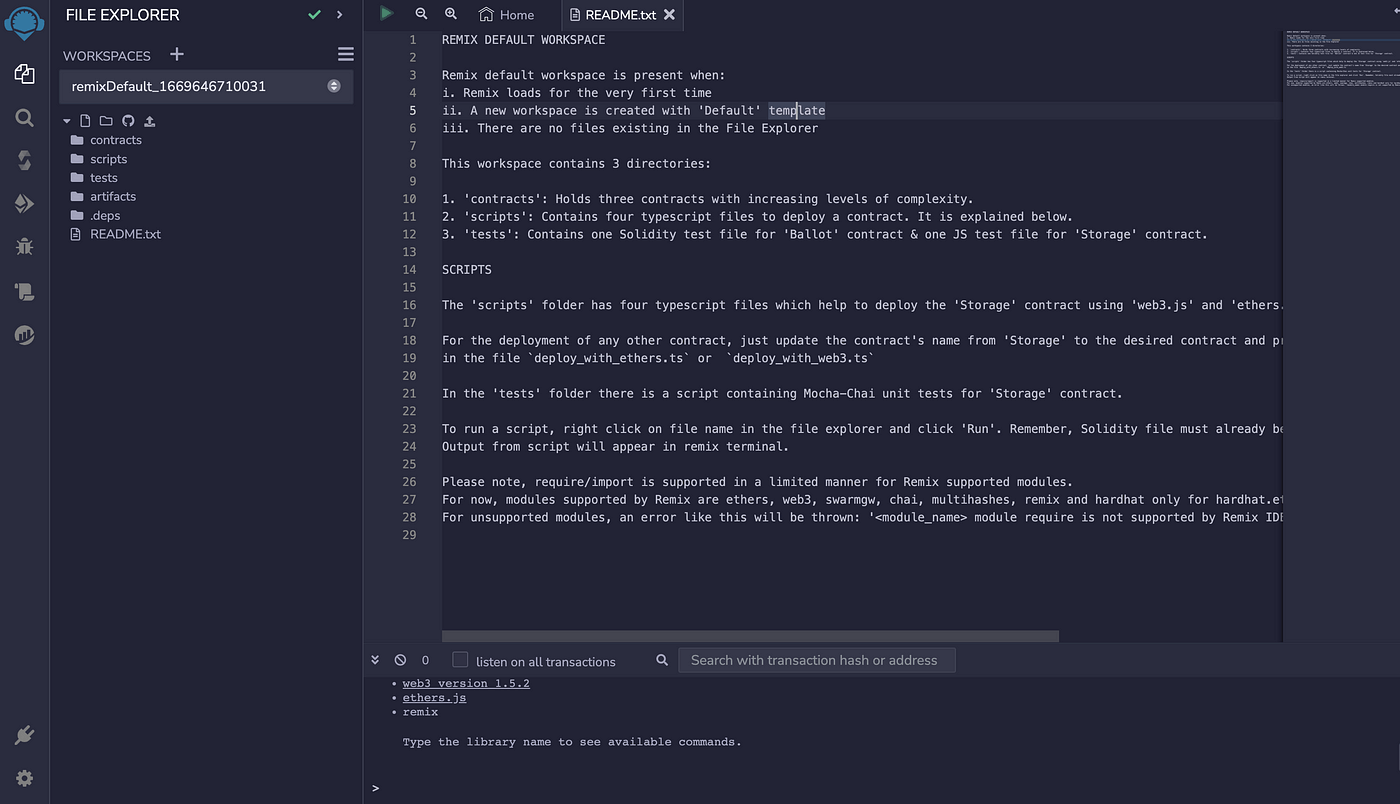
3.2. Create a new contract and paste the smart contract code, available here 👉 GitHub link
3.3. Compile the smart contract using Solidity version 0.8.1 using the following icons and details:
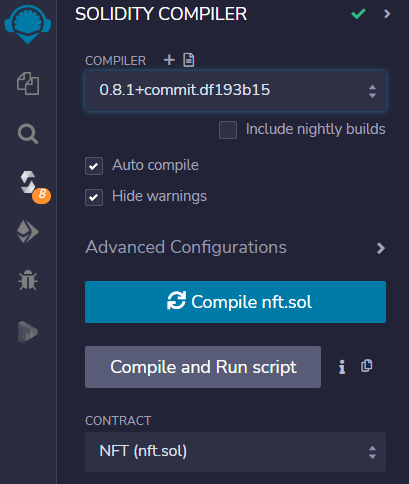
Note that the ABI of a contract is only available after the contract has been compiled. You can see an ABI that you can copy in the image above. Please keep this handy. We will need it for a while.
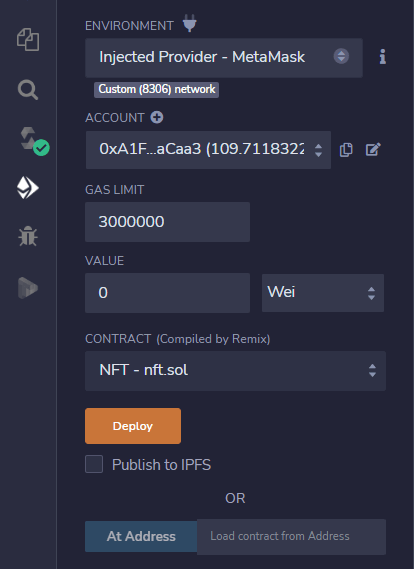
3.4. Select the “Deploy and Run Transactions” tab and deploy the contract as follows:
- Make sure to update your environment to "Injected provider — MetaMask" | Critical,
3.5. Click the "Transaction" button to deploy the contract to your private node network; once completed, you will see something similar to the following:

3.6. Copy the address of the contract and visit Blockchain Explorer to get your personal forked testnet (the link is on the dashboard page at home.buildbear.io ) and find your contract.
3.6.1. Submit the contract’s ABI for easy interaction
You can visit your contract page on BuildBear's Blockchain Explorer and then visit the Contract tab. You should see something similar to the following:
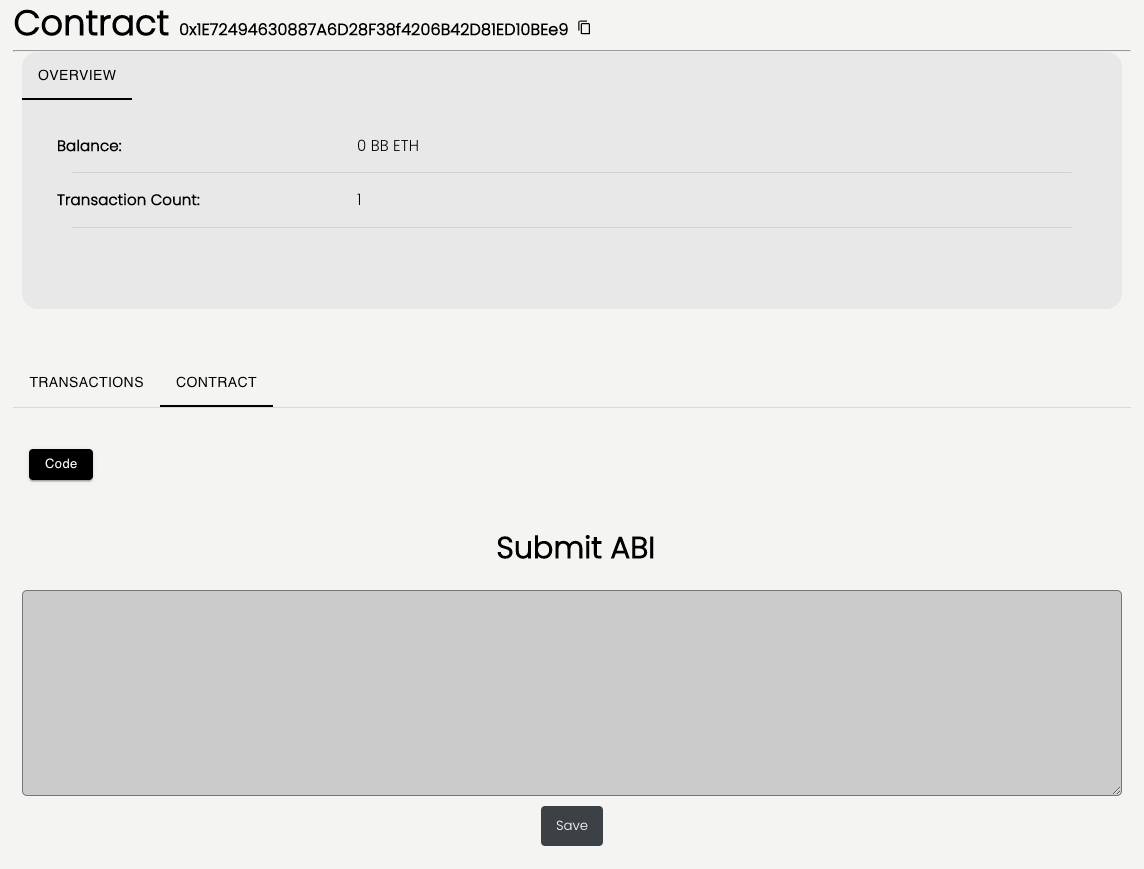
Submit the ABI we copied from step 3.3; once completed you should see the Read and Write Contract buttons available to you on the Contracts page:
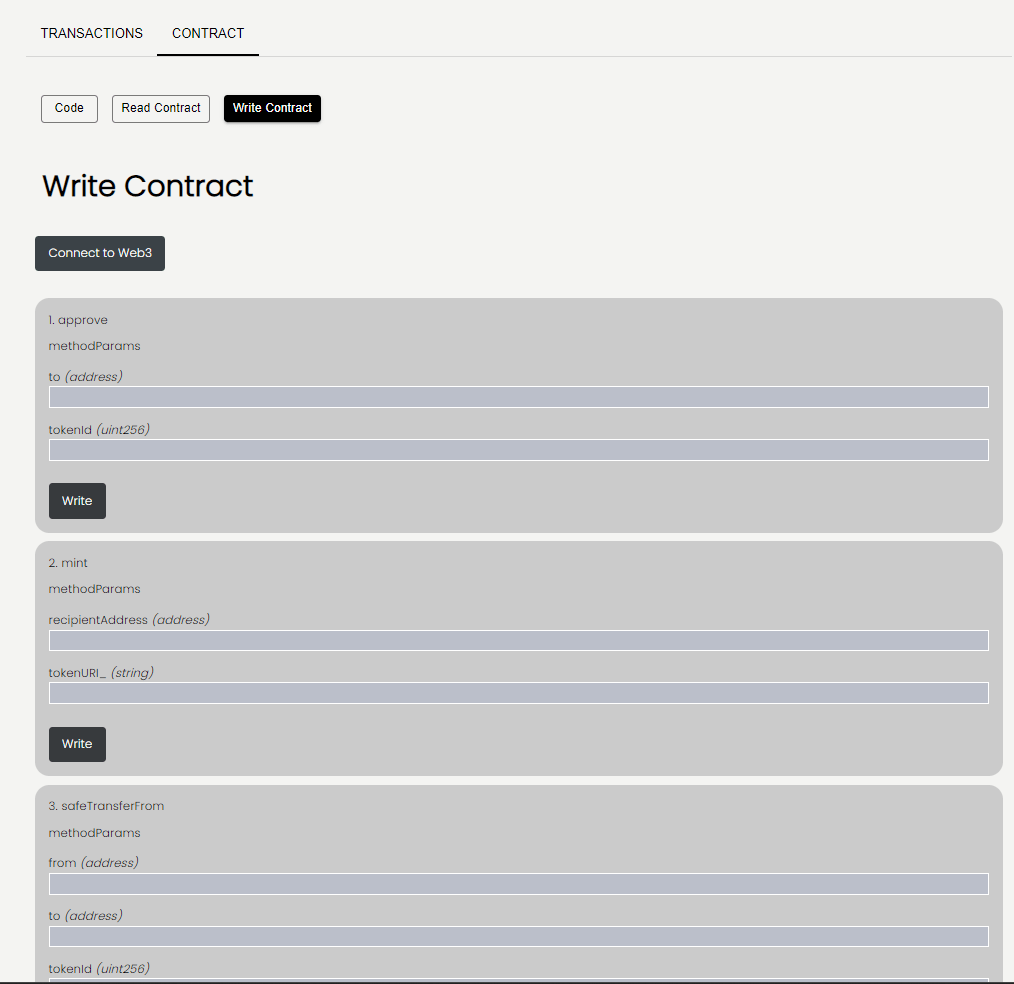
Woo woo woo 🎉 🎉
Step 4: Next.js Application
Installation and Setup
The easiest way to create a new Next.js application is to use the create-next-app CLI tool. You can install it via npm :
$ npm install Create the next application
Once installed, you can initialize a new Next.js application by calling the tool and providing a name for your project:
$ npx create-next-app nft-app
NOTE: If you don’t already have create-next-app installed – npx will prompt you to install it automatically.
Once the tool has finished initializing the skeleton project, let's go into the directory and take a look at the internal structure:
The standard package.json , package-lock.json , and node_modules are there, but we also have /pages , /public , and /styles directories, and a next.config.js file!
Let’s take a look at what these are.
Features of Next.js
Next.js is ultimately an extension of React, and it does introduce some new things that make React application development simpler and faster - start from the Next.js page .
Pages
Next.js makes it very easy to create multi-page applications with React through its default file system-based router . You don’t need to install any extra packages like react-router-dom or configure the router at all.
All Next.js projects contain a default /pages directory, which is the home directory for all React components you will use. For each component – the router will serve a page based on that component.
Next.js project setup complete
Step 5: NFT Storage
Since storing data on the blockchain is very expensive, we will use IPFS to upload NFT data, for this we will use the NFT.storage service
What is NFT storage?
NFT.Storage is a storage service that allows you to upload off-chain NFT data (such as metadata, images, and other assets) for free, with the goal of storing all NFT data as a public product.
Data is permanently stored in the Filecoin decentralized storage network and made available on IPFS via its unique content ID.
- Get API token from API key after creating account, you can use our API KEY here to get API KEY
- Install the package
npm install nft.storage - Create a component
StoreMetadata.jsxand add this code to the file
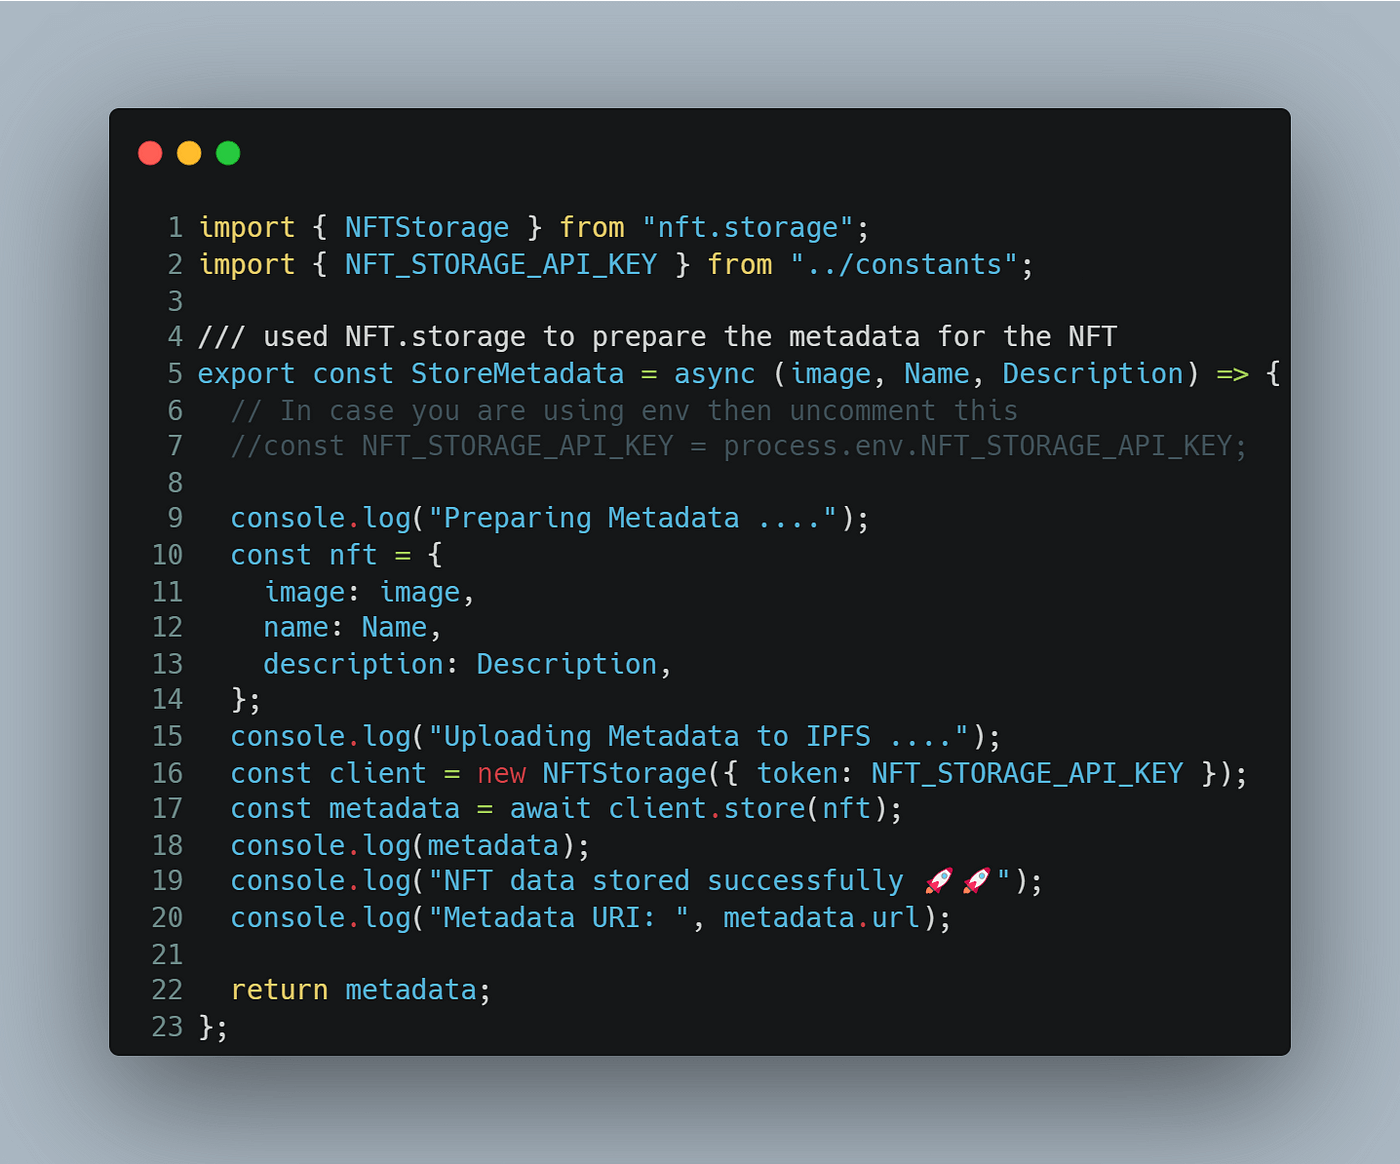
This is the main component that prepares the metadata based on the input we provide, and then uploads it to IPFS through the JS client we created.
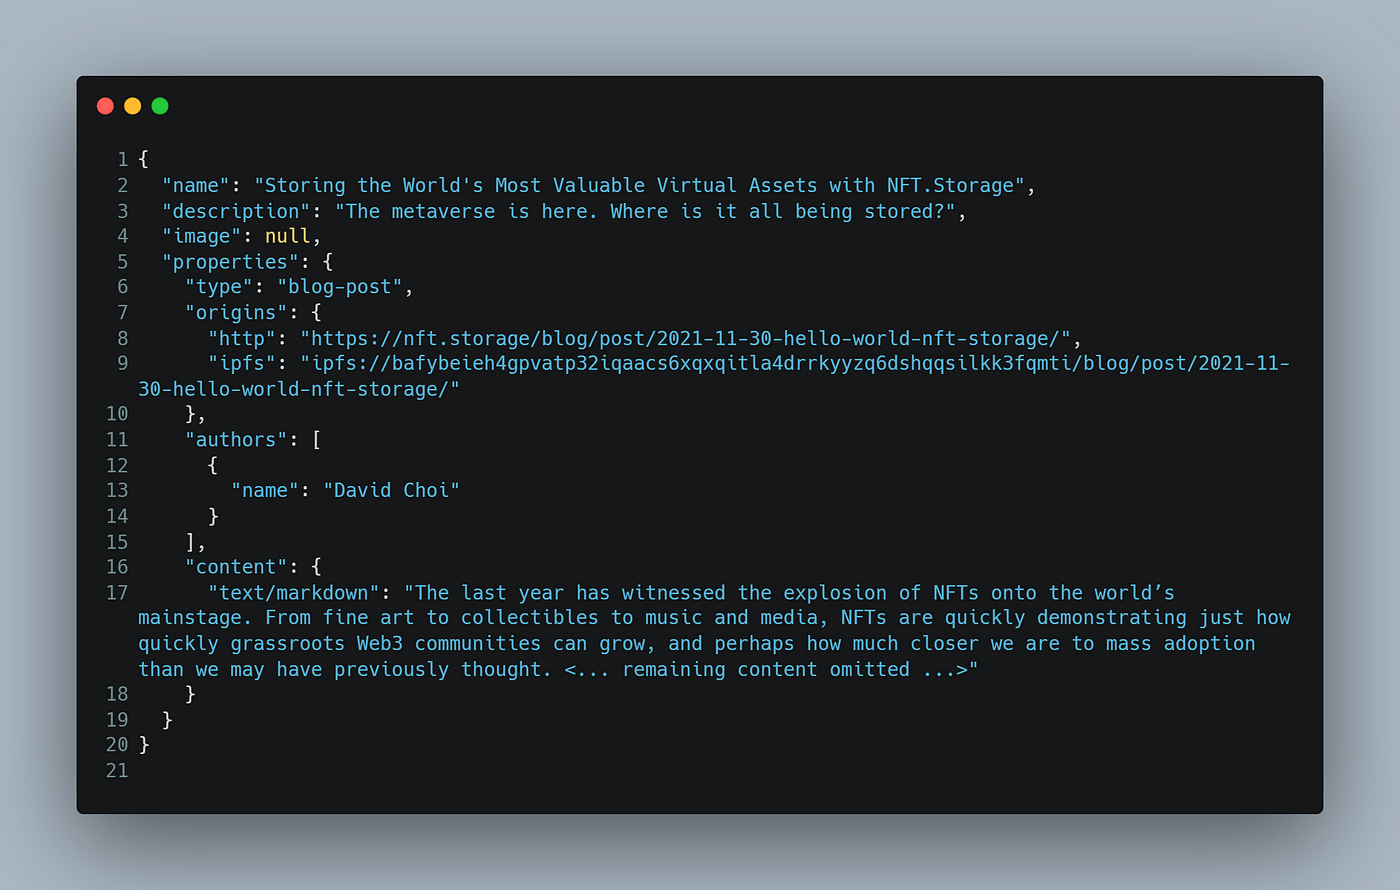
You can customize the metadata based on the standards of the token type, such as the metadata file, and you can edit the data you want to add or select.
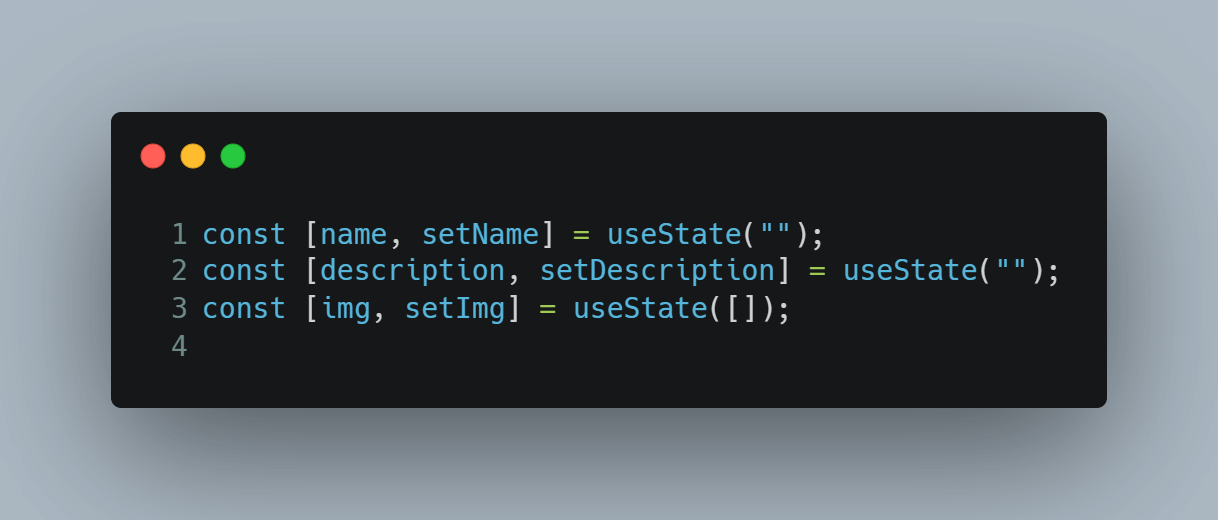
- In the main
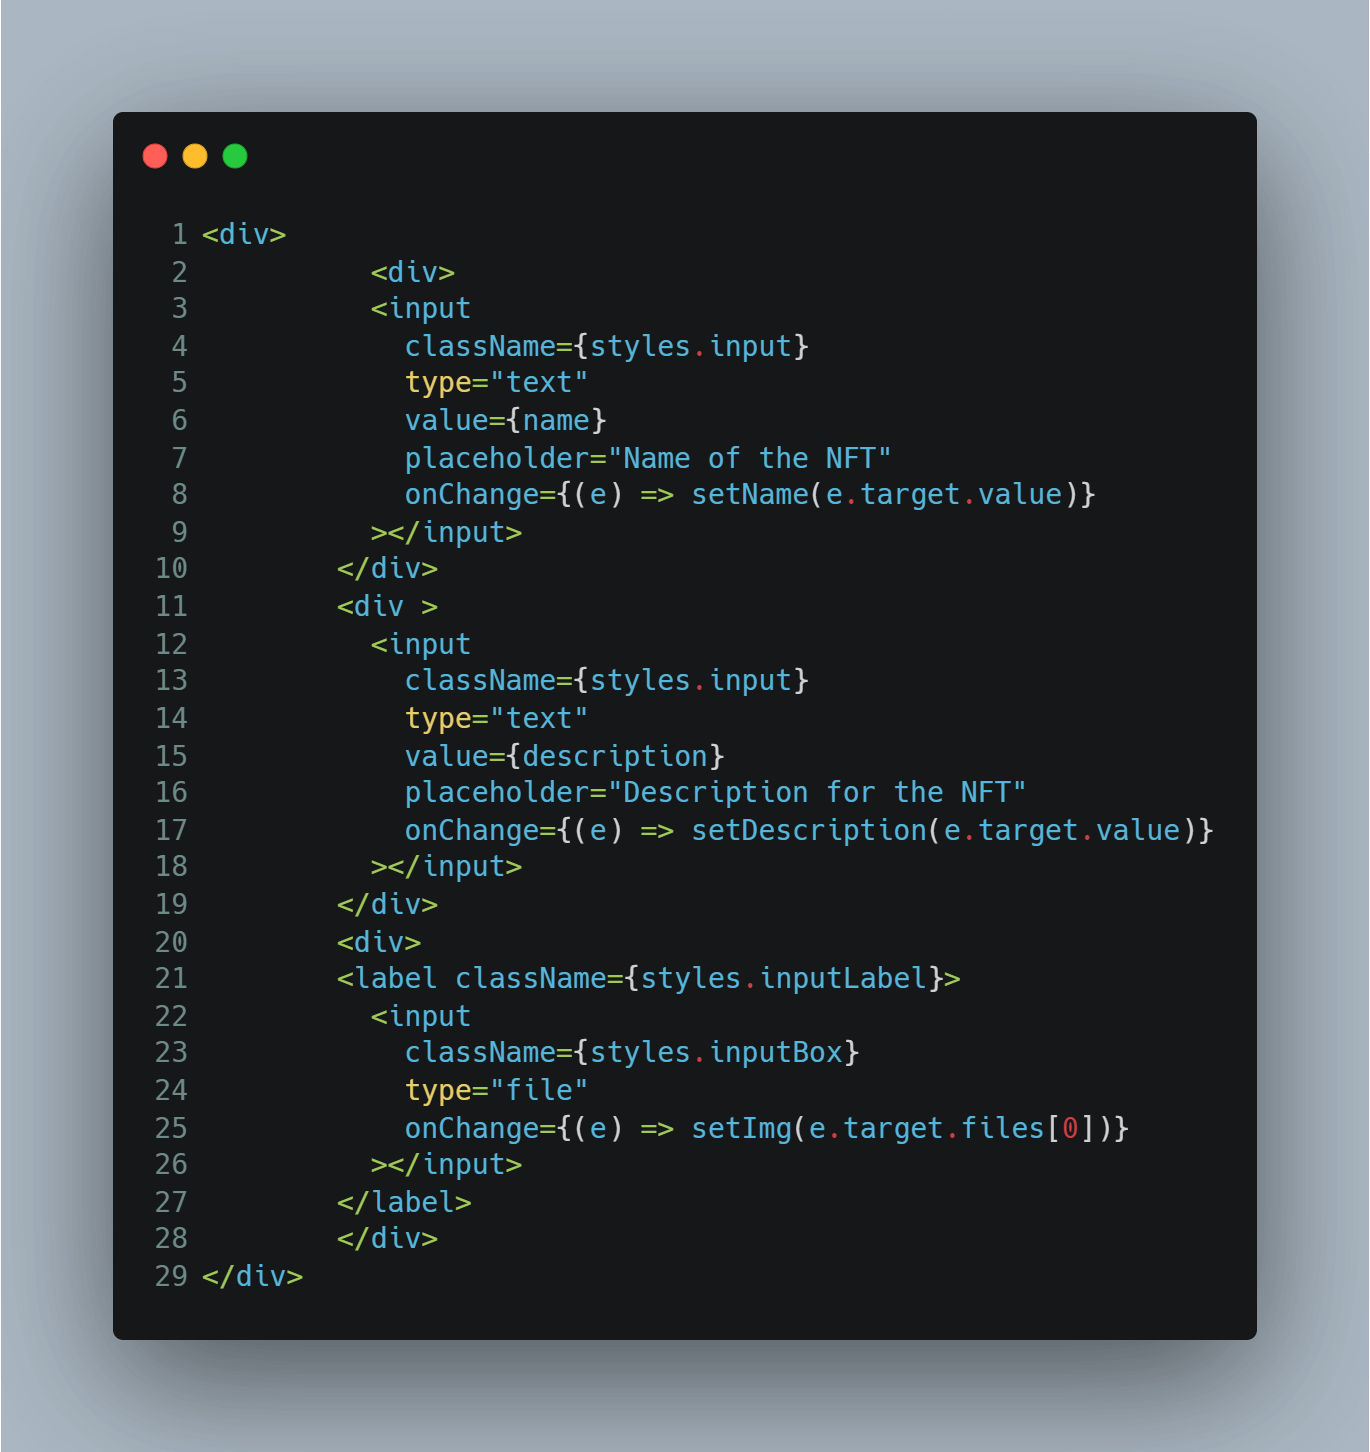
index.jsfile set the states for the inputs (in our case name, description and image file)

- Then input can be taken like this, from this Html code, don't worry about the UI, copy the code from here Home.module.css , and then paste it into
Home.module.css
Step 6: AI image generation
Let's see how to integrate the DALL-E 2 API into our application.
First, we need to visit the OpenAI website. You will need to register to generate an API key. You will also get $18 in your account to use.
Select You are creating an application when you sign up.
So, after you create your account, go to View API Key section where you can create your unique API Key. Check the image below for reference.

Now in your next application, create a .env file. This is to store the API key.
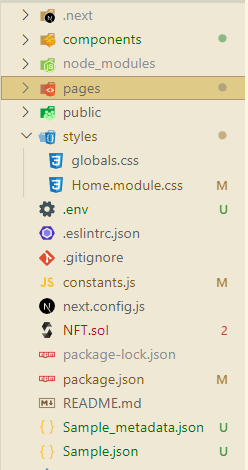
Add your API key there.
NEXT_PUBLIC_AI_API_KEY= Your API key is here
Now that the API key has been added, we need to import a few things in our App.js or App.jsx file. These include Configuration and OpenAIApi from the OpenAI SDK . But first, we need to install the OpenAI SDK into our React App.
To install it, just type the following command:
npm install openai
The installation may take some time. Then, import the two things we mentioned earlier like this:
import { config, OpenAIApi } from 'openai';We need to create a configuration variable that will get the API key from the .env file.
const configuration = new Configuration({ apiKey: import.meta.env.VITE_Open_AI_Key, });- Now, we need to pass this configuration instance to OpenAIApi and create a new instance of OpenAIApi.
const openai = new OpenAIApi(configuration);
- Now in the fetchimage function, we need to call the OpenAIApi instance we created earlier.
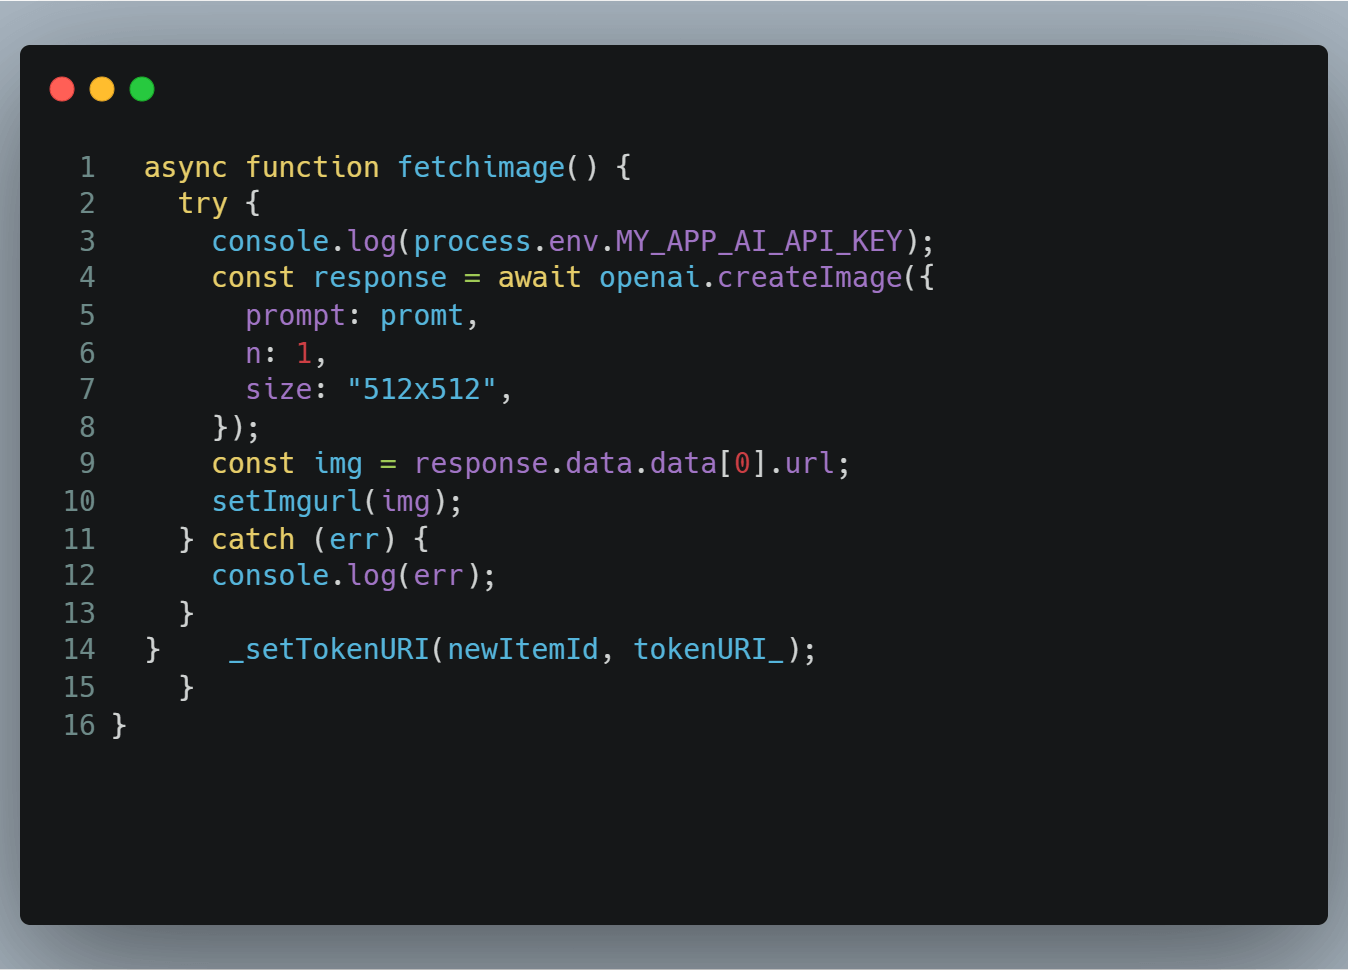
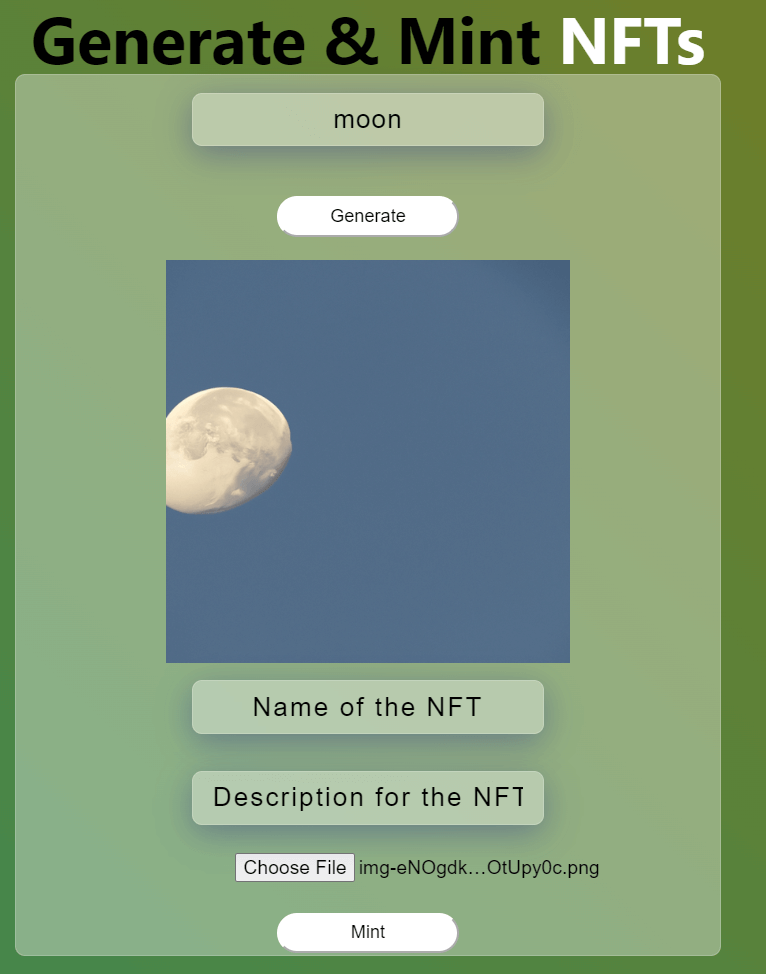
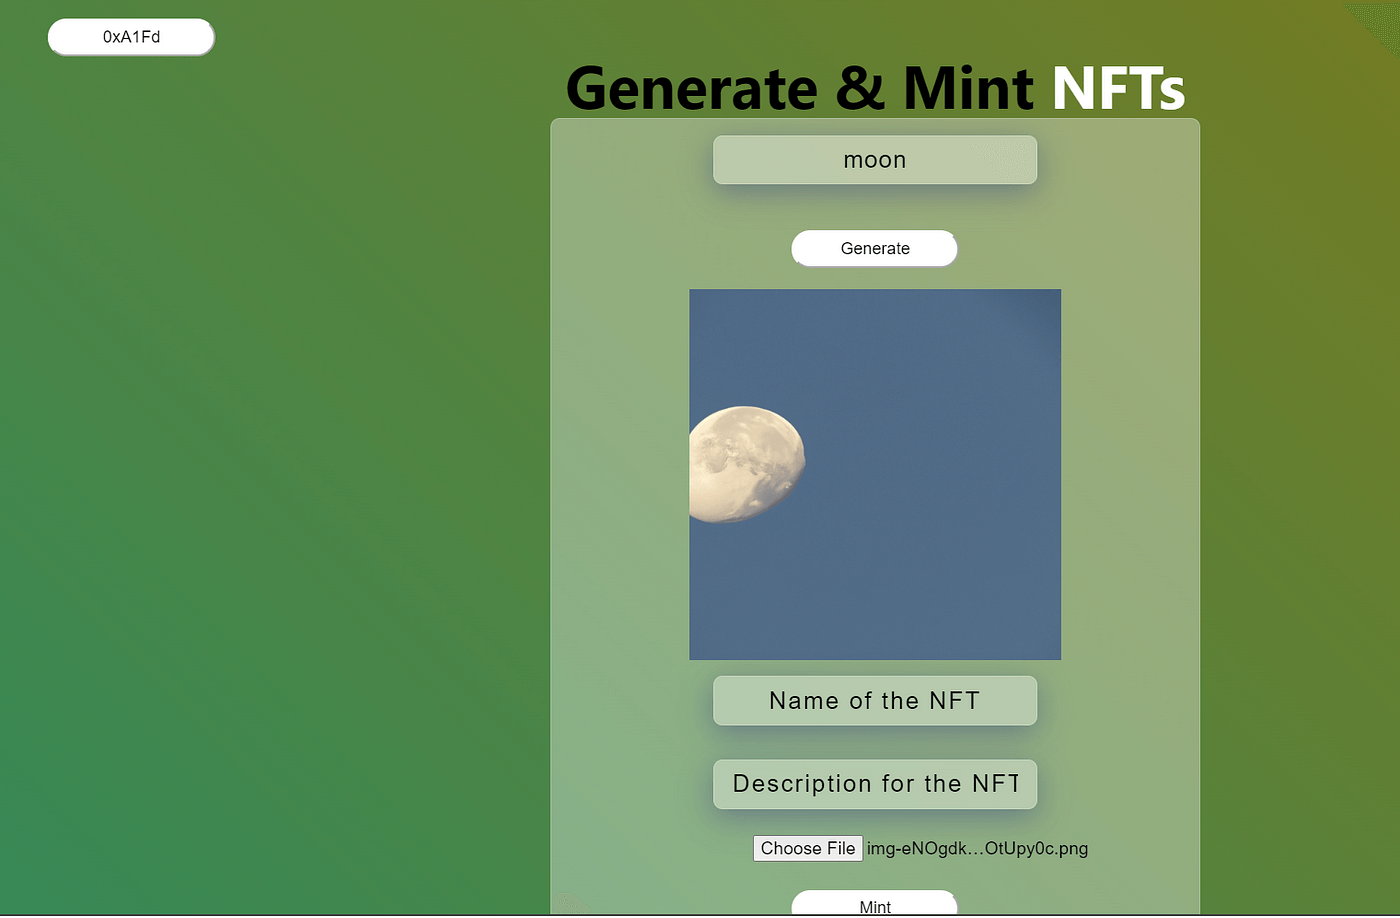
- The UI now looks like this:
Step 7: Connecting our application to the blockchain
We need something to connect our client to one of these nodes of the blockchain so they can start using the full functionality of the blockchain, and this is exactly where ether.js is a library written in javascript that can create anything that interacts with the blockchain, so we can use and create many decentralized applications (daps) based applications. It is essentially a bridge that connects your client and allows it to connect to the blockchain.
Ether.js Module
- Ether.js consists of some important modules that can be used to easily interact with blockchain nodes and get transaction data as needed. Before starting to use the modules of Ehter.js, let's first understand all the modules of Ether.js.
- Ethers.Provider: In this module, it allows you to initialize the connection to the Ethereum blockchain and provides you with the functionality to issue queries and send signed transactions. The state of the blockchain can also be managed through this module.
- Ethers.Contract: In this module, you can deploy smart contracts and interact with them, the deployment part of smart contracts and making them successful is part of the Ethers.Contract module. It also provides some unique function packages that let developers "listen" to smart contract events, and after listening to the contract, you can also get information about them.
- Ethers.Utils: This module allows you to handle user data input and format it according to your requirements. Ethers.utils makes it easy to build decentralized applications.
- Ethers.Wallet: As the name suggests, it provides a way to connect any coexisting Ethereum address to a proper wallet. It also has important features like it allows you to create new wallets and also sign transactions.
- installing
npm install --save ether
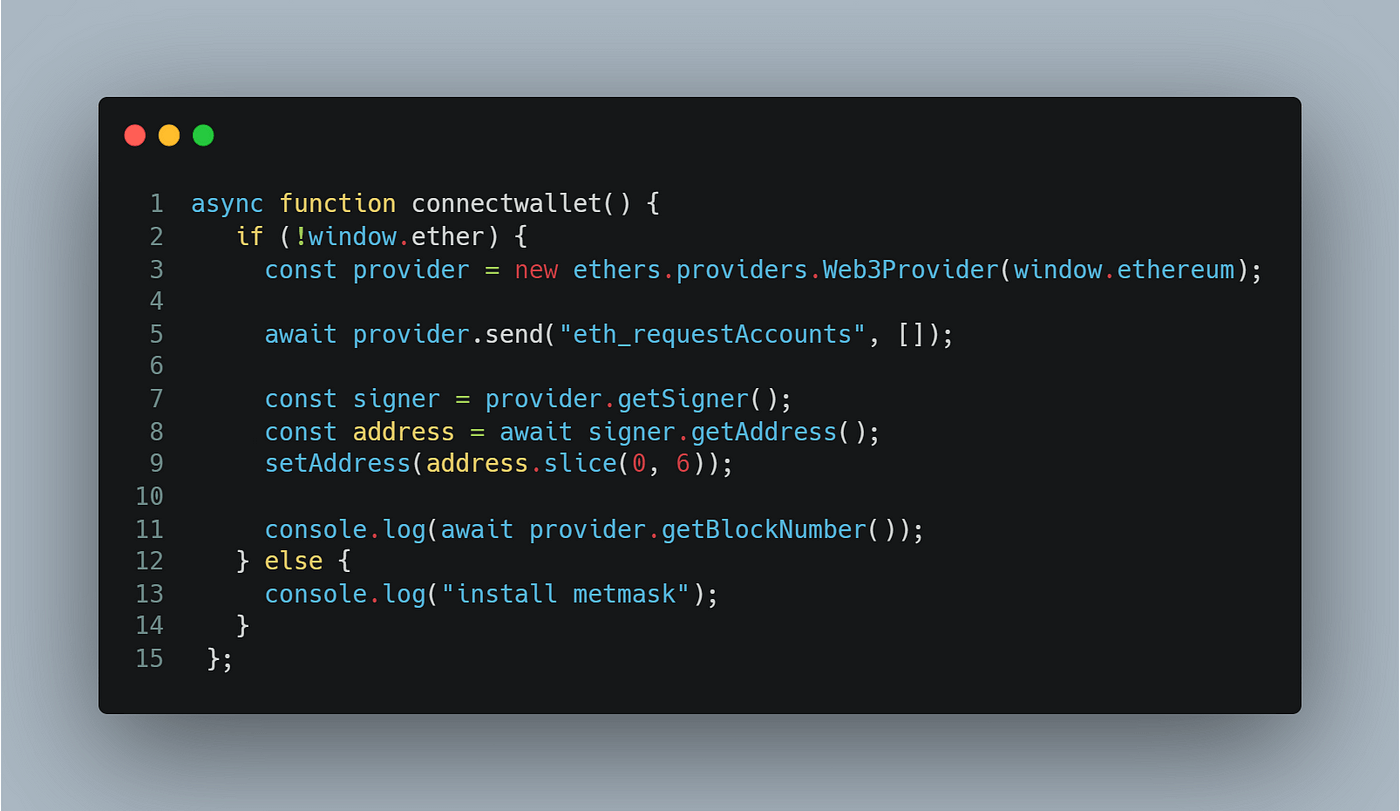
- Let's create a Connectwallet function that connects our application to the Metmask wallet. This will check if the wallet is installed, and if so, MetaMask will pop up to connect.

- Create a function that calls the Store metadata from the component, gets the NFT's Ipfs link, and then calls the smart contract's mint function with the NFT's Ipfs link and the user's address
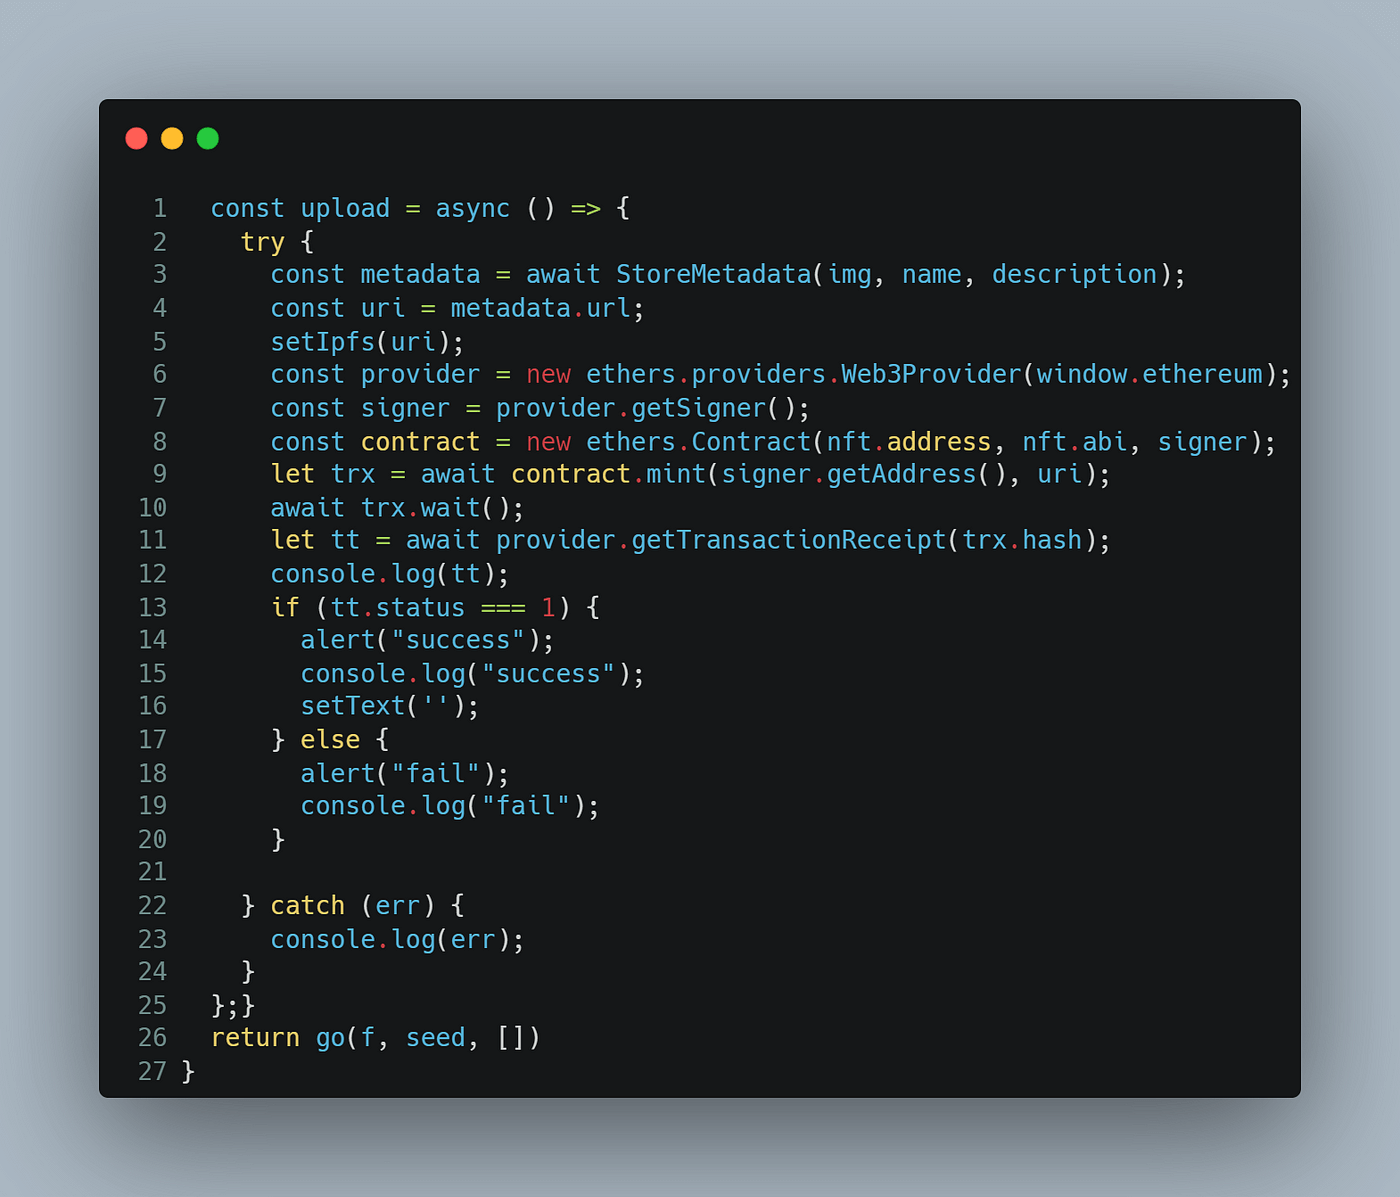
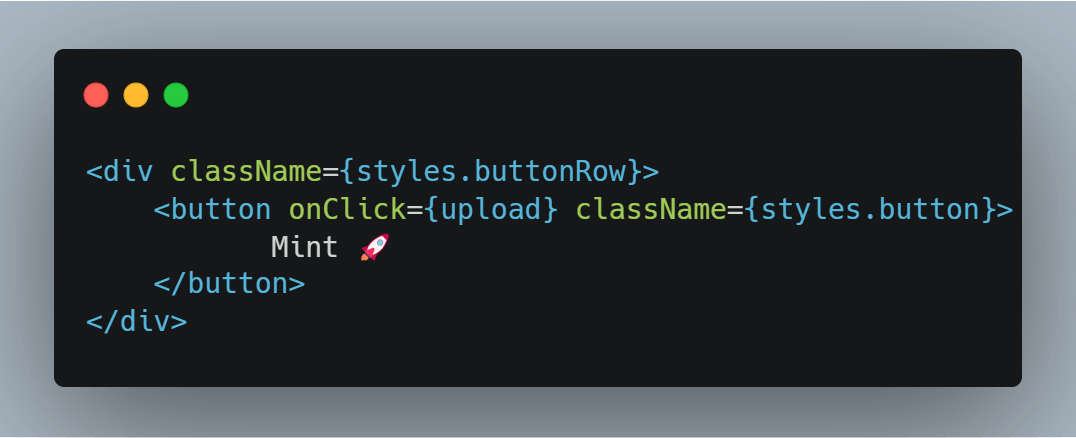
- When the input has been set, this function can be called using a button.
Let's test the application
Connect the wallet. Enter a name, description, generate an image, then press the mint button and sign the transaction. One is successful and you receive an alert.
Go to the block explorer and view the transaction details
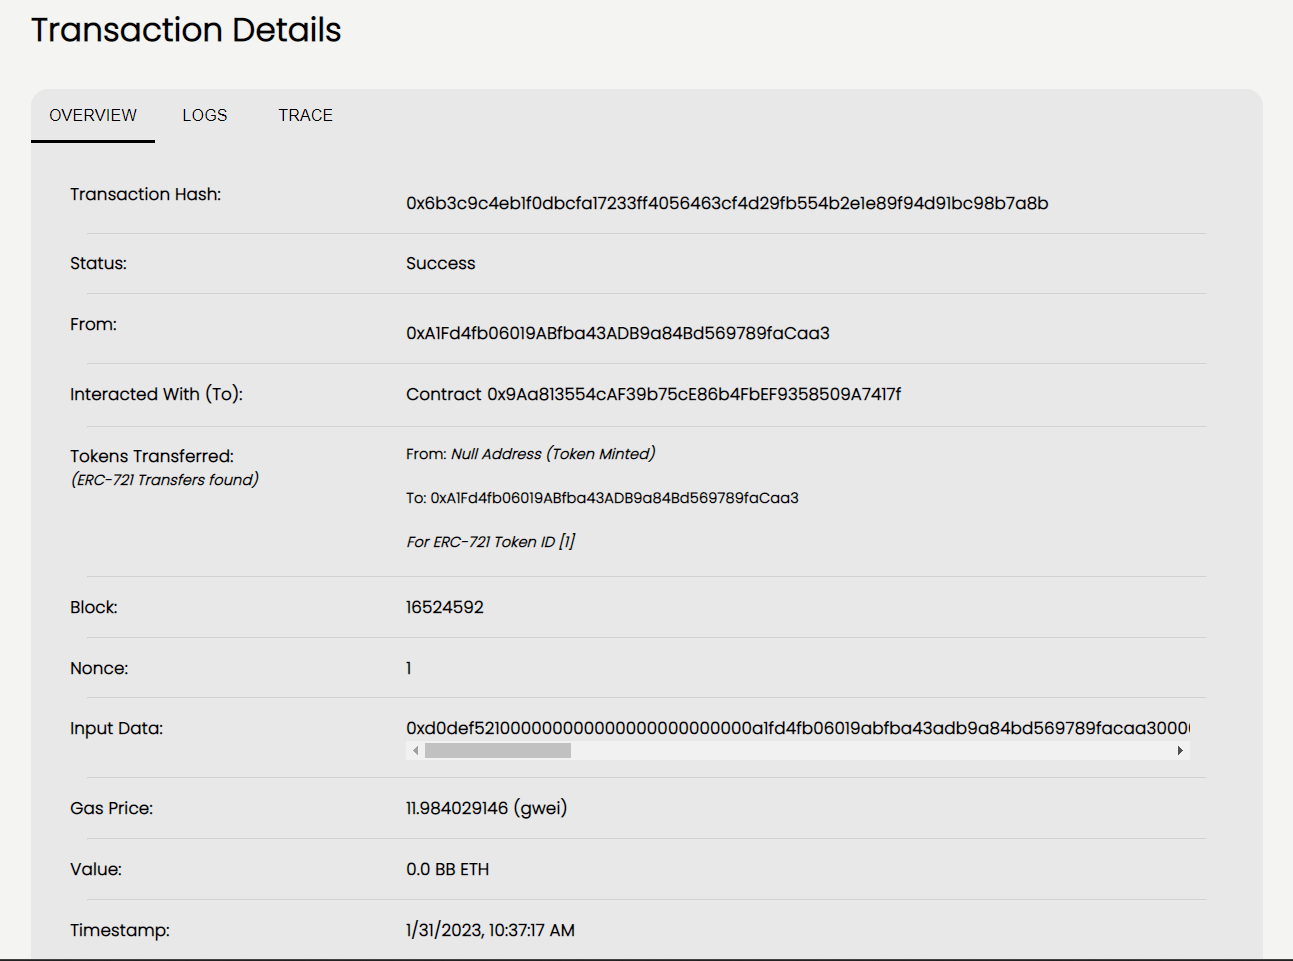
We have successfully built NFT Mint!!! 🎉🎉🎉
If you like our work, please give us a clap 👏.
Code repository: https://github.com/BuildBearLabs/Tutorials/tree/main/Ai-mint
喜欢我的创作和项目分享吗?创作并不容易,别忘了给予更大挺喜欢的地与赞赏,以给大家带来WEB3共富之路! 作者WEB DID:link3.to/chengwf88888,赞赏ETH:chengwf.eth
