| 科技閱讀 | 程式語言 | 理財規劃 | 工具推薦 | 音樂盛宴 | 生活雜談 | 科技隨筆中,不只有科技! 在這裡,我會隨筆記下科技閱讀、程式語言、理財規劃、音樂饗宴以及生活雜談等等內容。 邀請您在過程中與我一同分享也一同成長。 讓我們在人生的旅途中不斷學習,努力成為更棒的人吧~ 在其他平臺關注我: https://linkby.tw/itechnote.co
Novices can also quickly make and sell their first NFT (production)
foreword
We have discussed what NFTs are in the previous article, as well as the types and applications of NFTs. (Related reading: One article to understand what is NFT and its application)
The NFT trading market is like any trading market in the world. There is usually not only one trading market. With step-by-step learning and growth, it will be better to slowly pick the most suitable trading market for you. In this article, we will learn how to create our first NFT on OpenSea , the world's largest secondary market for NFTs. The whole process does not require writing any code or spending money, but it will require its own encryption. Currency wallet, you also need to have some basic understanding of wallet, but if you are a brand new novice, it doesn't matter, I will recommend the instructional video, and come to build your first cryptocurrency wallet and NFT right away!
cryptocurrency wallet
If you are a novice and don't have your own cryptocurrency wallet, it's totally fine. We recommend Dr. Bao's wallet creation tutorial here, but since we are going to play on OpenSea, we just need to install the MetaMask wallet .
Here I want to remind and remind again. The most important thing is that the wallet mnemonic is like a well-guarded safe password. Please remember it well and don’t tell anyone anywhere unless you absolutely trust it, because in the blockchain Once anyone else in the wallet knows your mnemonic or private key, he can withdraw all your money in the wallet at any time and place. Remember that if the mnemonic and private key are missing, your All encrypted assets will really not be able to get back!
OpenSea Account Settings
Once you have established your own wallet, let's start creating our first NFT! Go to OpenSea first and log in with your wallet, click on Metamask that appears on the home page, then a new window will appear in the upper right corner of the browser, select "Connect" to connect your wallet with OpenSea, then OpenSea will automatically register for you And create a new account. You can think of this action as applying for an account on an online shooting platform. When creating an account, we directly clicked on using Google account/Facebook account to quickly register, and the action of "connecting" It's like authorizing this platform to use some of my public information on my Google/Facebook account.

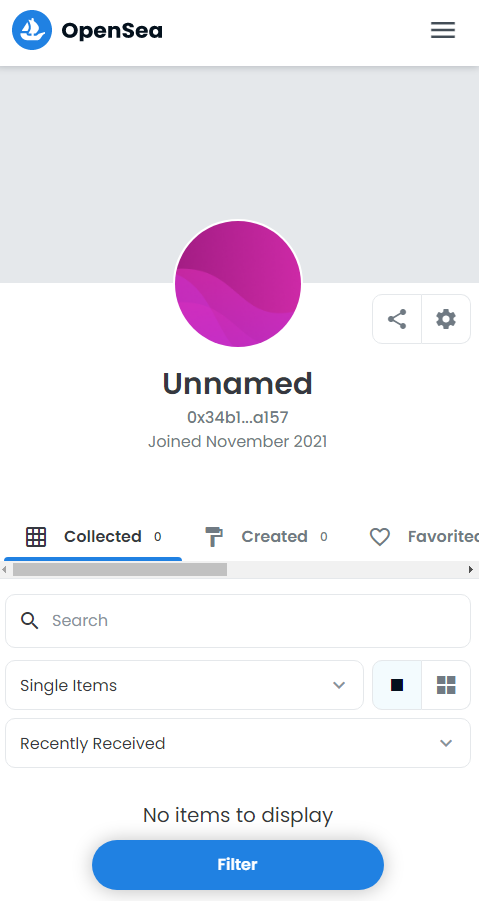
If you log in for the first time, you should see a screen like this, this is your personal homepage! You can wander around OpenSea for a while to see if there are some or some works on the market, and then come back and start our next step.
In OpenSea, people mainly use the three directions of [Account], [Collection], and [Item] to find the works they want. Account is your account name; Collection is the series of works; Item is the name of the individual NFT.
First of all, we need to set up Account, which is our account. There is a small gear in the upper right corner. You can also change your name by clicking it. After setting, others can search for you by name. After you set up a photo sticker and some other personal information, it will be displayed on your personal homepage, just like the facade and some basic introductions of this mall when people want to come to your mall to see your works. Everyone knows you better.
Build a Collection
Before creating an NFT, you need to set a Collection. If you skip this step and send an NFT directly, it will cause "Untitled Collection" to appear in the Collection column when it is displayed. The presentation of NFTs is also not very good-looking. You can think of Collection as the name of a whole series of works, and there can be many different NFTs under the same series.

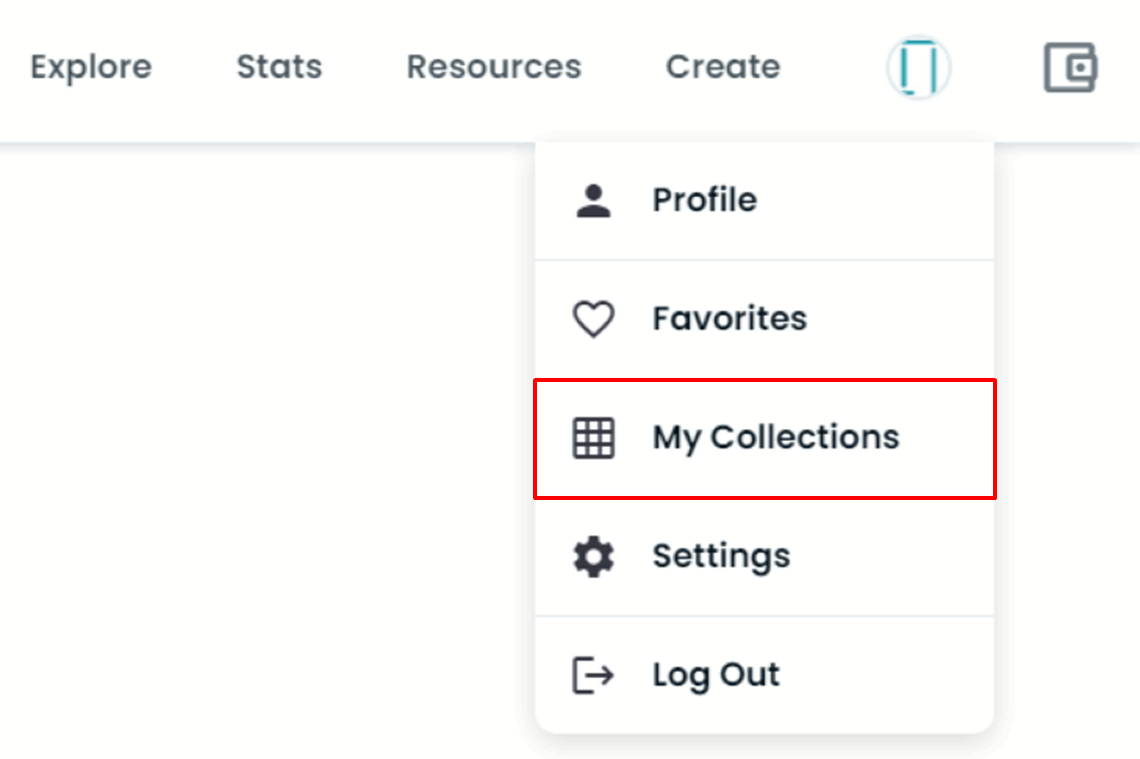
Move the mouse cursor to the profile picture, and some drop-down options will appear. If it is a mobile phone board, under Account, select My Collections and then click Create a collection to start creating the first Collection. I will use text for most of the content. Compare Chinese and English and put forward my views and some explanations, just fill in according to the content of the portfolio you want to build.
- Logo image: The logo style you want to put on this series of NFTs.
- Featured image: This image will appear on the homepage, category page or other promotional areas of OpenSea to display your collection. In my actual opinion, it is similar to the background image, so you can use the same image as the Banner image. This image is the most Well, no words are needed, and you can immediately recognize what the NFT under this series will look like.
- Banner image: This image will only appear at the top of the Collection page, which is the large background image, so it is recommended to be the same as the Featured image. It is best not to use text, but to let everyone see the NFT under this series that can be recognized immediately. What a picture.
- Name: Give the set a name.
- URL: See if there is a link name you want to put, which is the URL that appears when other people connect to this Collection. Since it is a website, it can only be lowercase English, numbers, and some special symbols such as horizontal bars can also be added. .
- Description: A more detailed description for this series of works.
- Category: It is the category. Currently, there are many different types on OpenSea. Just depending on which type of NFT do you think this series is more inclined to, it will help collectors of a certain type of NFT to find your works more easily.
- Links: You can put your official website link, or which social software you want people to find your URL link.
- Royalties: In simple terms, it is the royalties. After all, the works we created so hard are hyped by interested people after they are sold. Wouldn’t it be disgusting if the money we make has nothing to do with us? Therefore, OpenSea provides a royalty setting, which can be set up to 10%. As long as our works are traded, we can continue to profit from it. For example:
Example 1: I created a certain NFT, the sale price is 10ETH, and the royalty is set at 10%. When the work is sold, I can get 8.75 ETH immediately, 0.25 ETH will be taken away by OpenSea (2.5% platform fee), and finally The royalty part will receive the last ETH worth of 1 in 2~4 weeks, sell 10 ETH, and receive 9.75 ETH.
Example 2: The person who bought my work later sold it to others for 15 ETH, so for the publisher, since we set a royalty of 10%, we can still receive another 1.5 ETH at that time.
- Blockchain: There are two blockchains to choose from in OpenSea, Ethereum (Ethereum) and Polygon. Polygon is an expansion plan of Ethereum. The reason why Polygon appeared is to solve the long-term congestion of the Ethereum network and the rising currency price. The problem of soaring fees caused by the soaring fees. We will not discuss the technology of the blockchain in detail here. All you need to know is that Ethereum is still the mainstream place for most of the NFT issuance, but its fees are high. If you are just starting to try to issue As well as trading NFT, we can choose to issue it on Polygon. Its handling fee is very low, which can greatly reduce the threshold for use and transaction, and let us pay a little less tuition.
Once you choose a different chain to issue NFT, in theory your NFT will always exist on that chain and cannot be converted to other chains, but since Polygon is an expansion plan of Ethereum, it is based on the protocol of Ethereum Come on, they also have a cross-chain bridge dedicated to NFT , where ERC721 and ERC1155 are supported, so if one day you want to transfer NFT on Polygon to Ethereum, it is feasible, but you will have to pay extra fee to do this.
And the other options left behind are just fine to use the presets!
Super easy to make your own NFT
Finally arrived at the most important step - making the first NFT!
There will be a "Create" button on the top menu page. After clicking it, you can start creating NFTs.

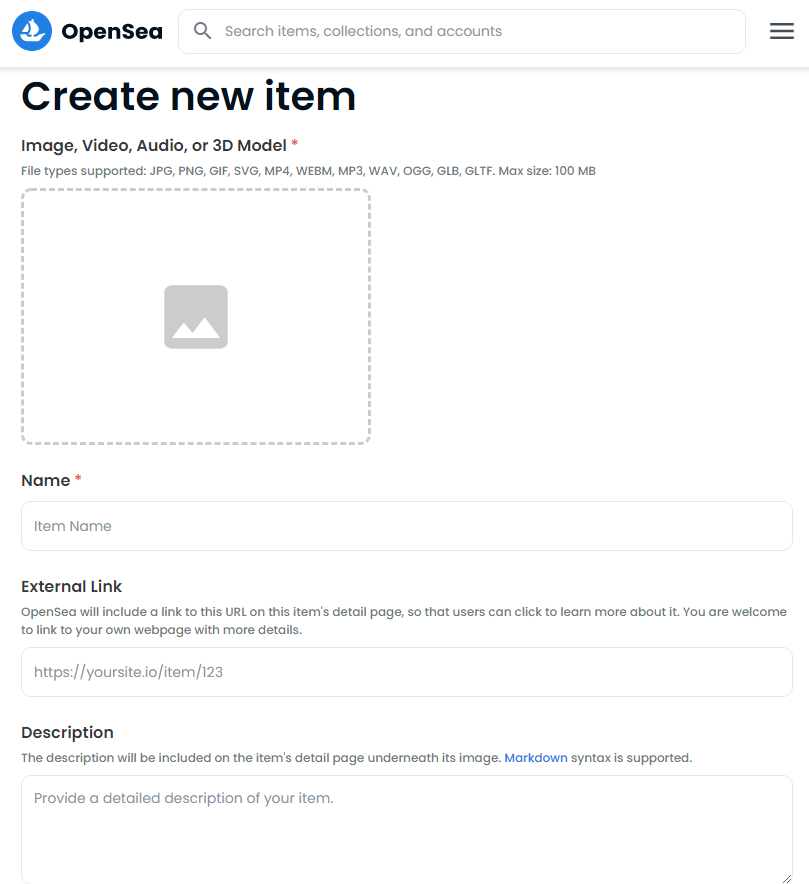
The page clicked by Create will probably look like this. There are several important places that must be filled in:
- Image, Video, Audio, 3D Model: Here is the NFT we want to create. Note that it tells us the currently supported file formats and the maximum file size can only be 100MB.
- Name: The name of the work of this NFT.
- External Link: You can paste your own website URL here, and this work will have your URL link in the future!
- Description: Some detailed description for this NFT.
- Collection: From the drop-down menu here, you will see the Collection we have just created. If you want to send a new collection in the future, you can create a new Collection first, and then come back and send NFT!
- Properties, Levels, Stats: These are some attribute level statistics that can be set for NFTs. The purpose is that if there are more NFTs in the future, you can filter through these attribute data from the sidebar of the collection to facilitate finding the desired NFTs.
- Unlockable Content: You can enter any content in this field, only the holder of the NFT can see this message! So maybe you can write some discount codes for your own shopping website, some content for giving benefits, and thank the other party for purchasing your NFT.
- Explict & Sensitive Content: Whether this NFT has some sensitive content, if it is not to create any bad NFT, don't check it
- Supply: Supply, in OpenSea, if you choose polygon, you can send more than one NFT of the same (without any handling fee!), but because it is a non-fungible token~ So although we have created NFTs that look the same, the actual Each is a different token!
- Blockchain: We explained it a little when we set up Collection. If you choose Polygon, the transaction fee will be much lower in the future.
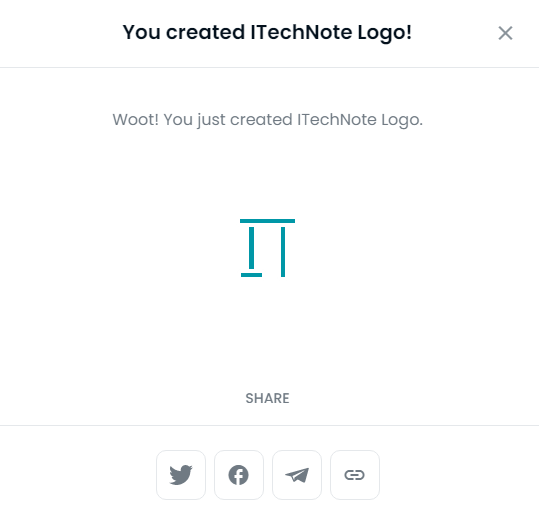
Check the content again to make sure that all the fields that should be filled in have been filled in, and that the multimedia works that should be uploaded have been uploaded. The Create button at the bottom of the page should become clickable. After pressing it, you have successfully created an NFT!

After successful creation, you can browse to the NFT we just sent in Account!
In this article, we have successfully issued NFT (and it has 0 cost), which can be collected by yourself, can be transferred to relatives and friends, and of course can also be sold! Since I found that some of the Polygon pages that OpenSea sells are a bit different from the Ethereum pages, I want to make another article to discuss their differences and how different auction methods work. See you next time~
Finally, thank you for your willingness to take the time to read my article. If you still like it, I hope to get your applause and turn it into an appreciation, so that I can have the opportunity to publish an article about writing an article for beer. o((>ω< ) )o
Original link ITechNote technology essay
Like my work?
Don't forget to support or like, so I know you are with me..
Comment…